Shoe Process for Adaptive Footwear
Process
Step 1
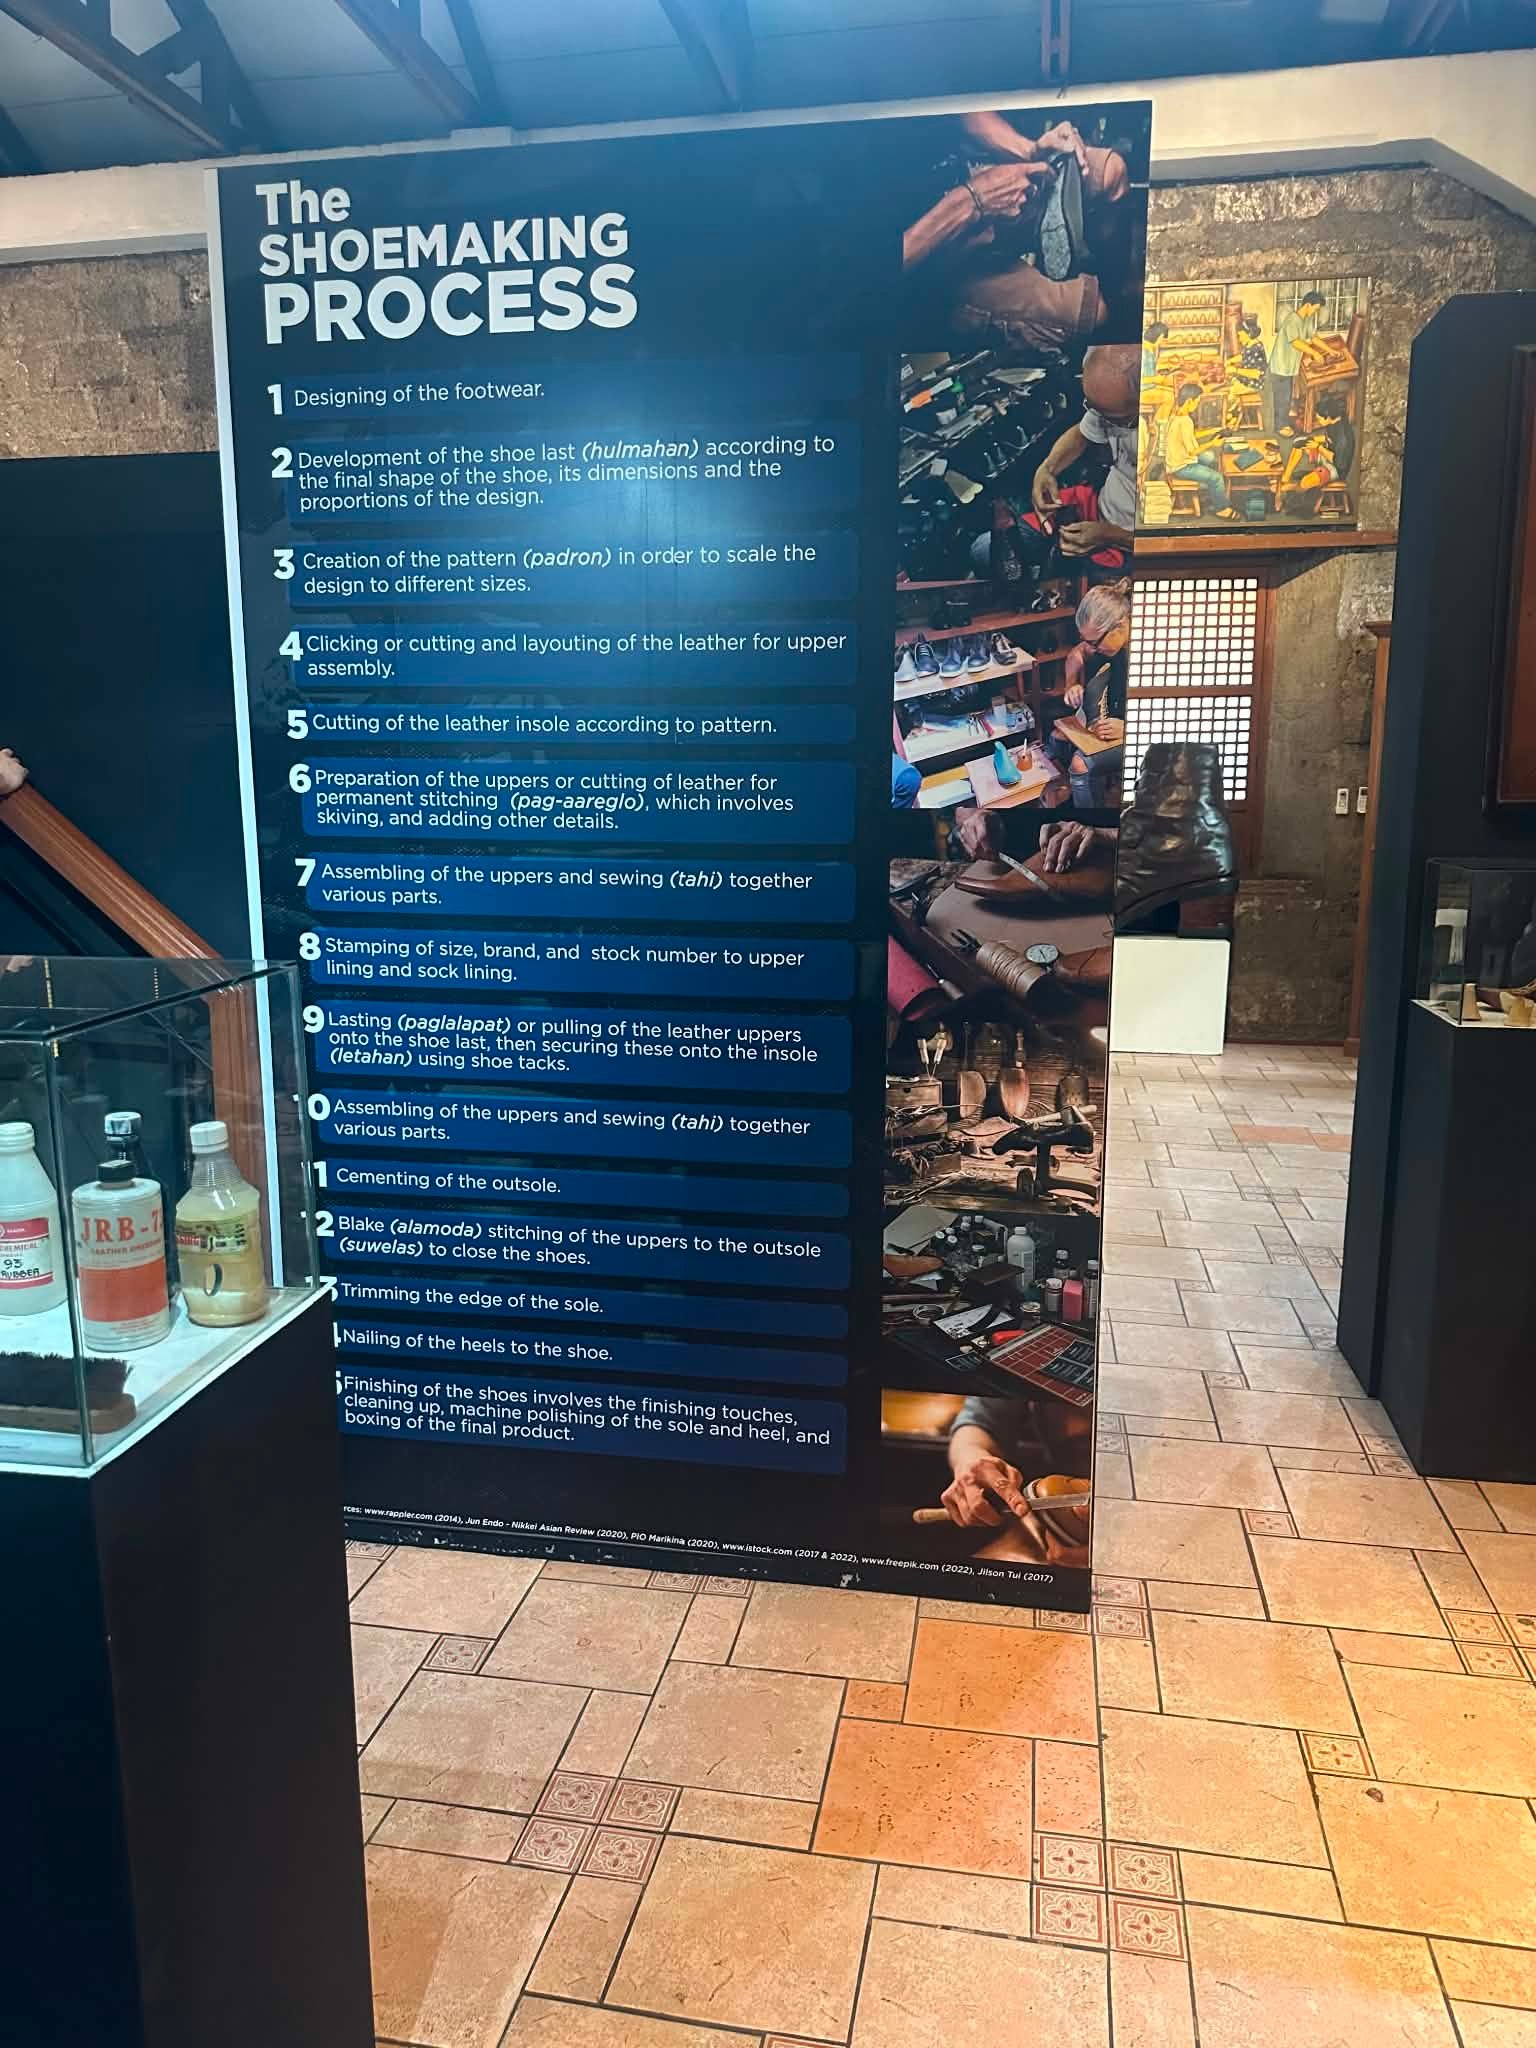
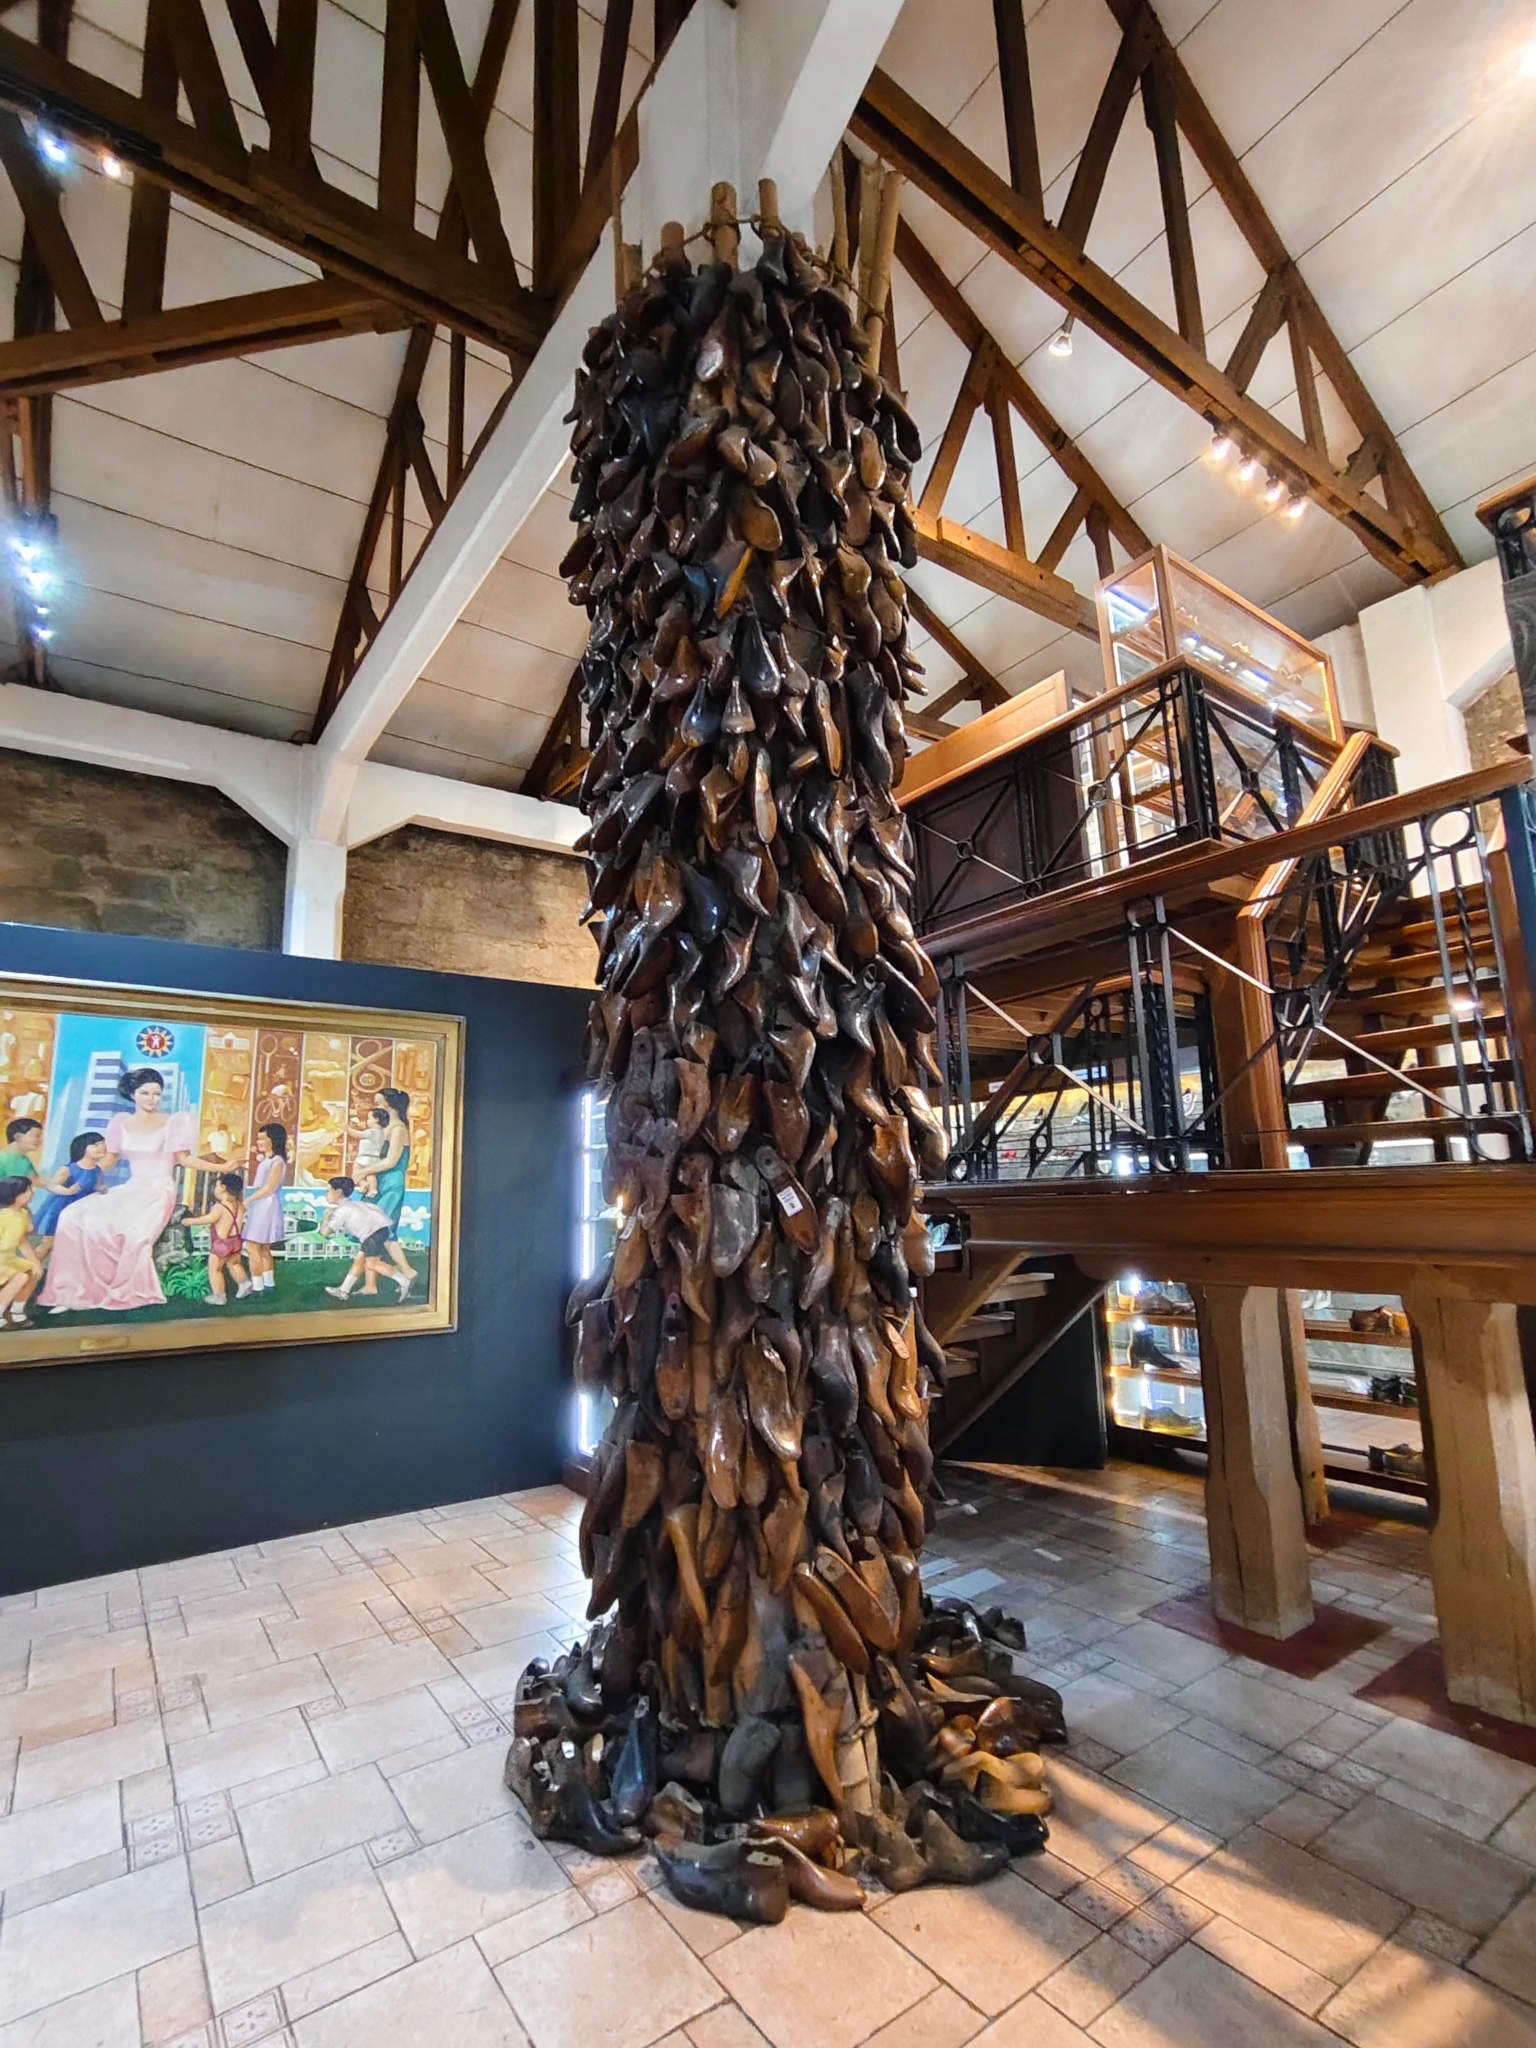
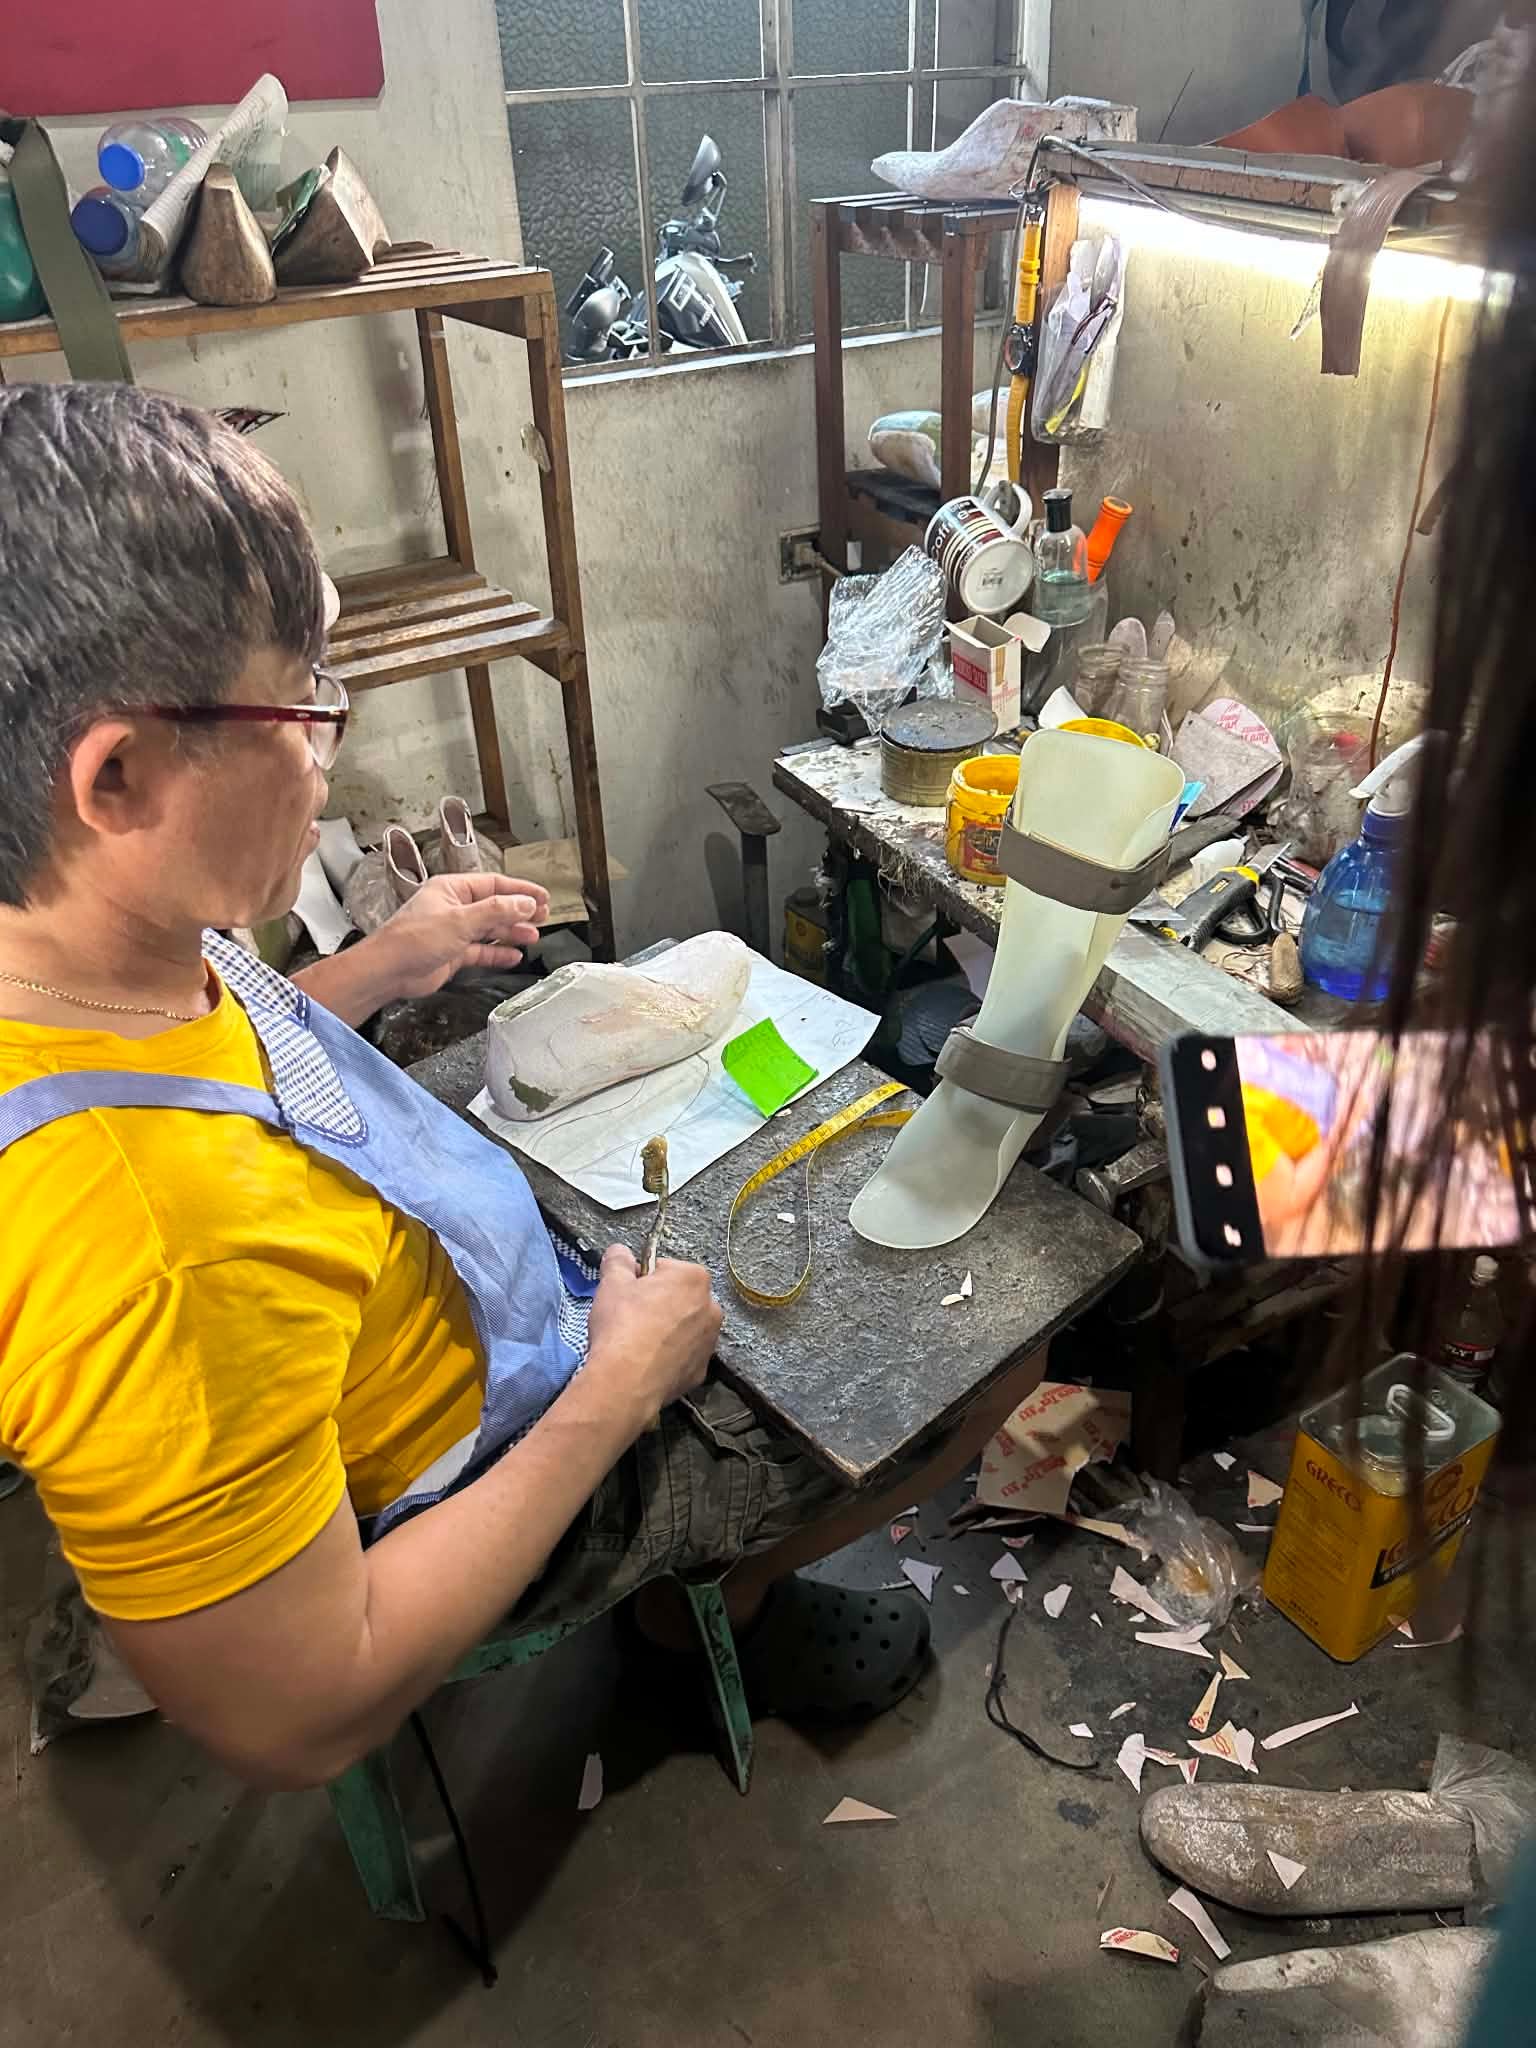
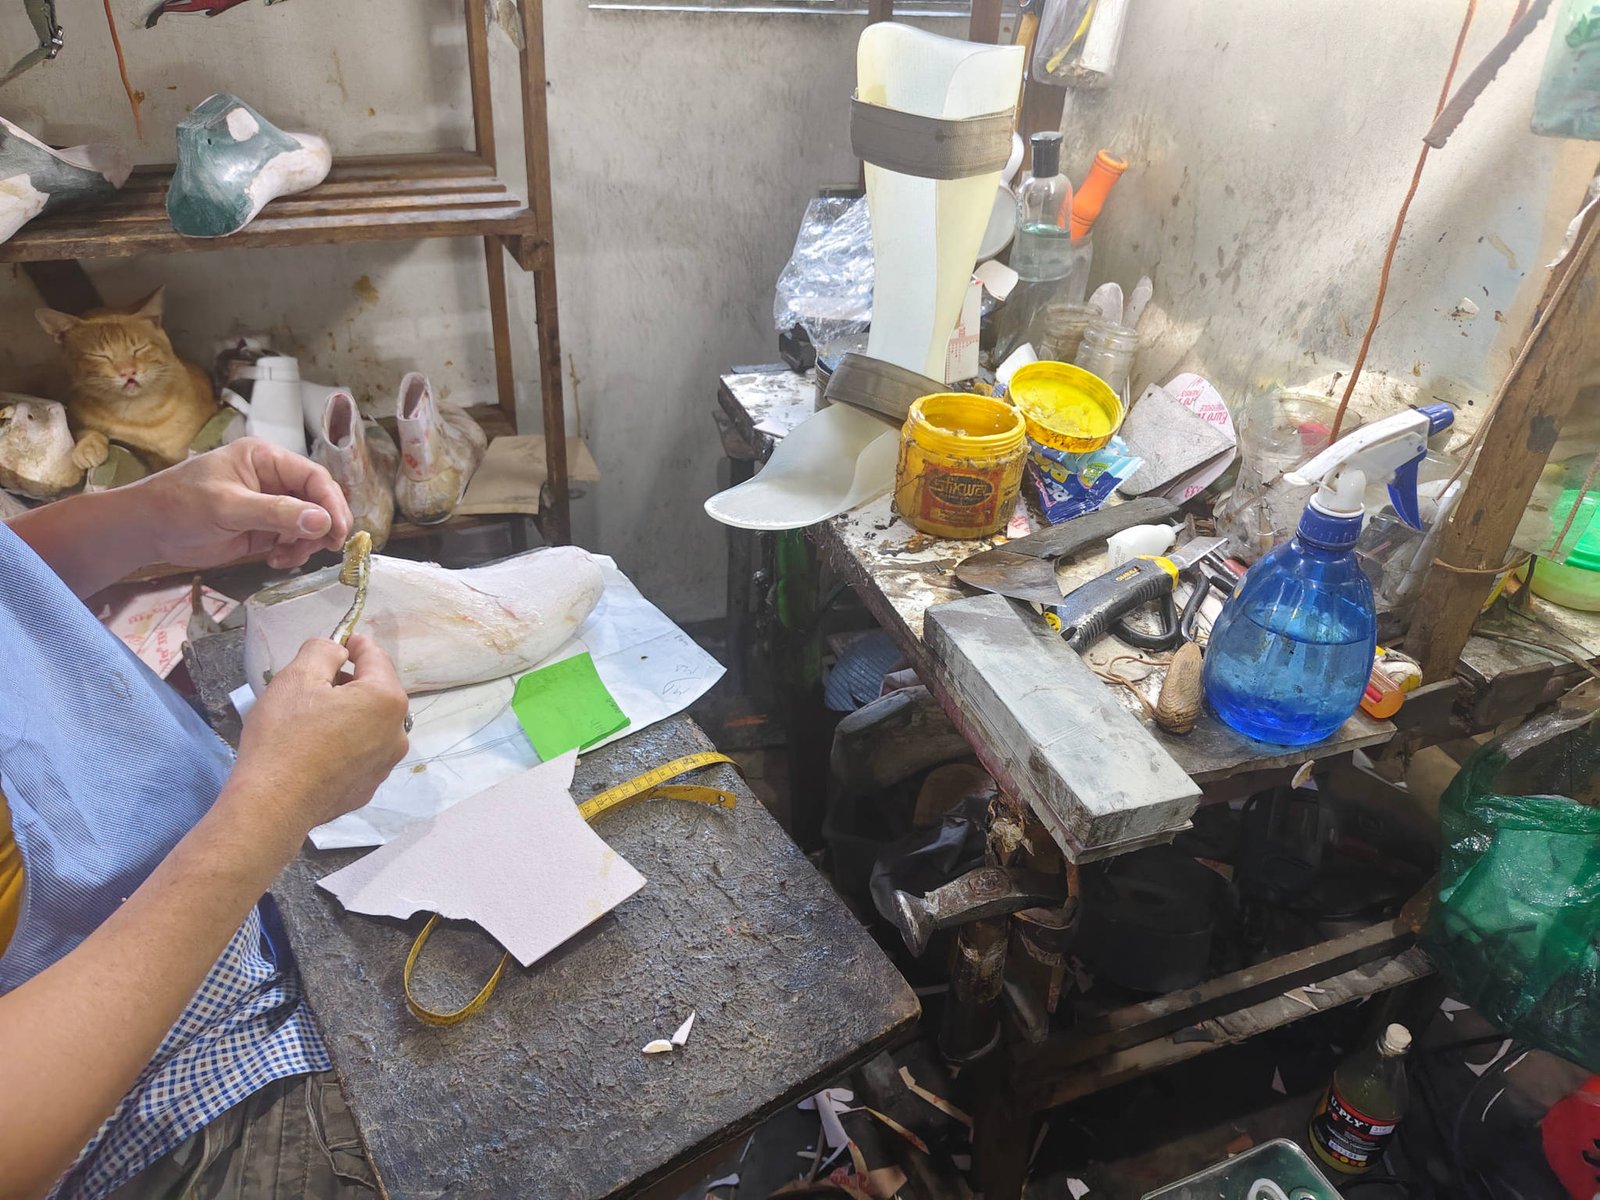
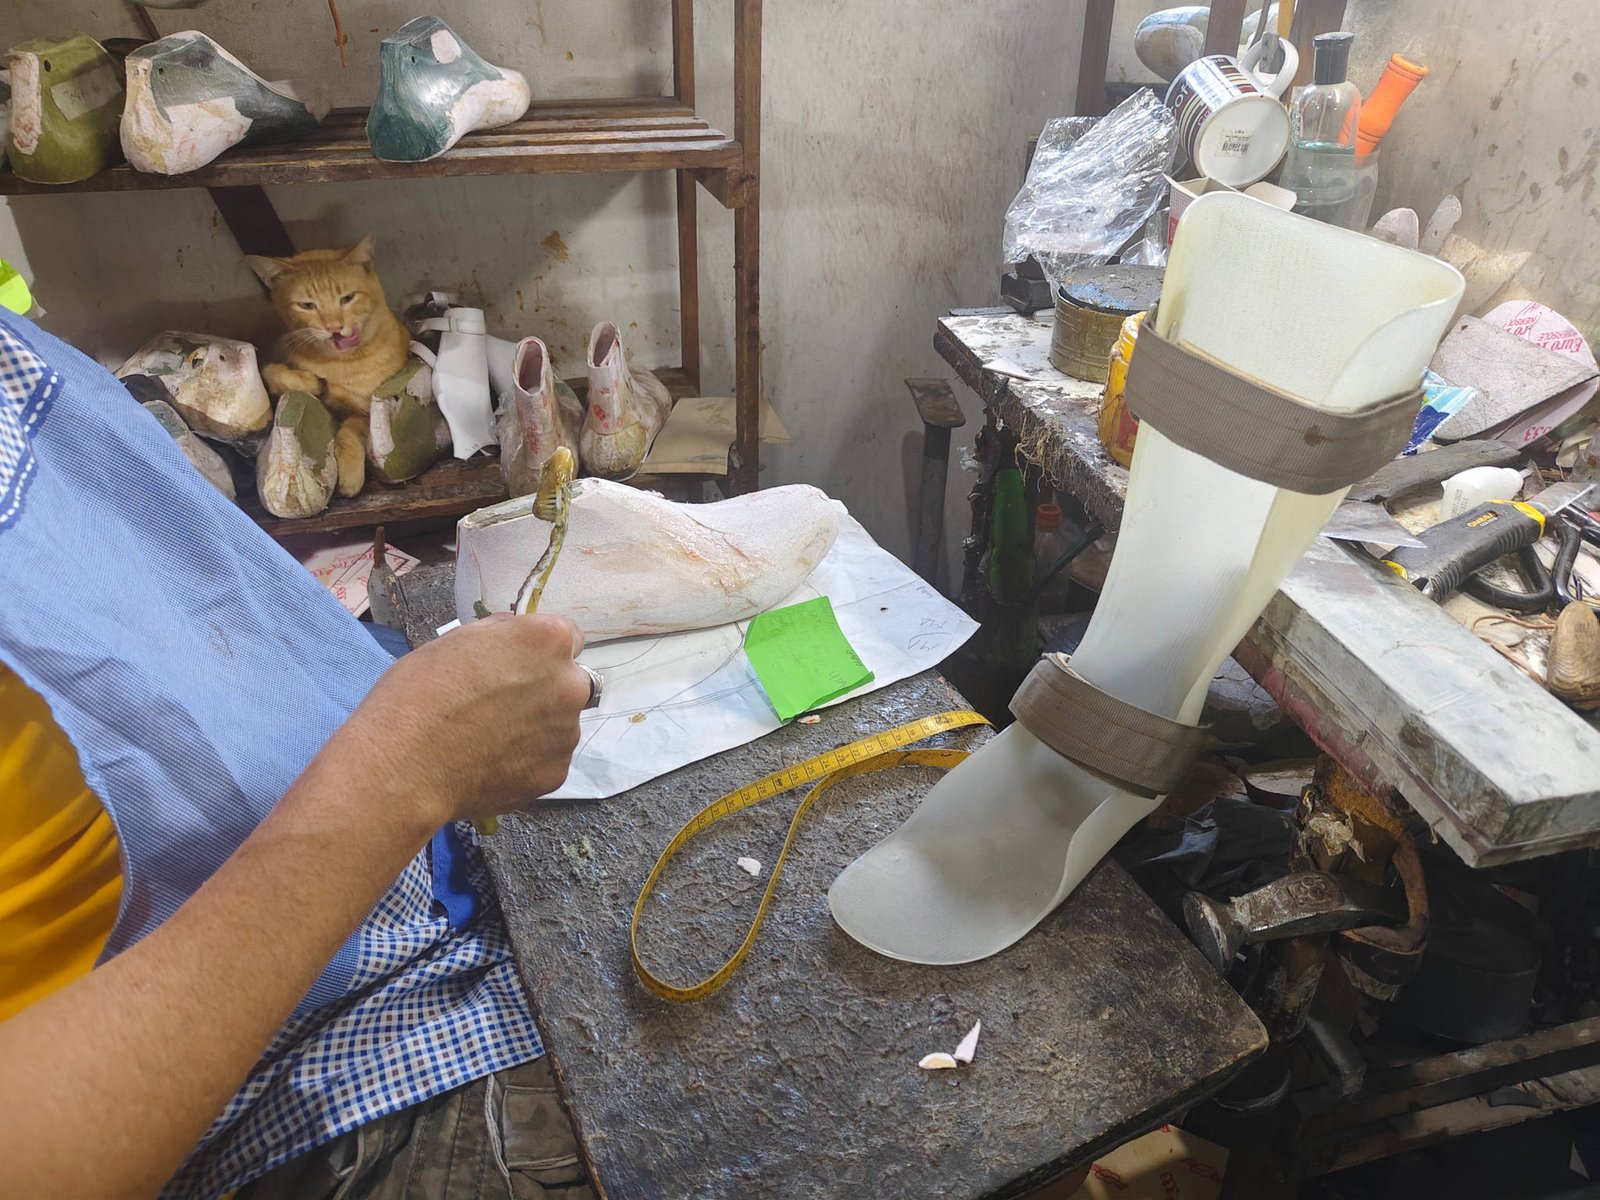
Prep the Last
(Hulma)
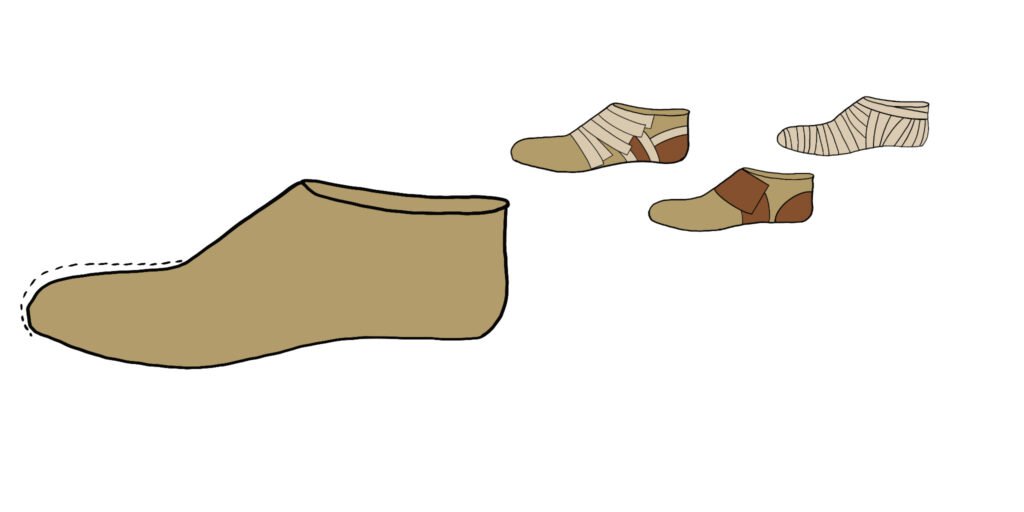
Choose a wide-toe-box last
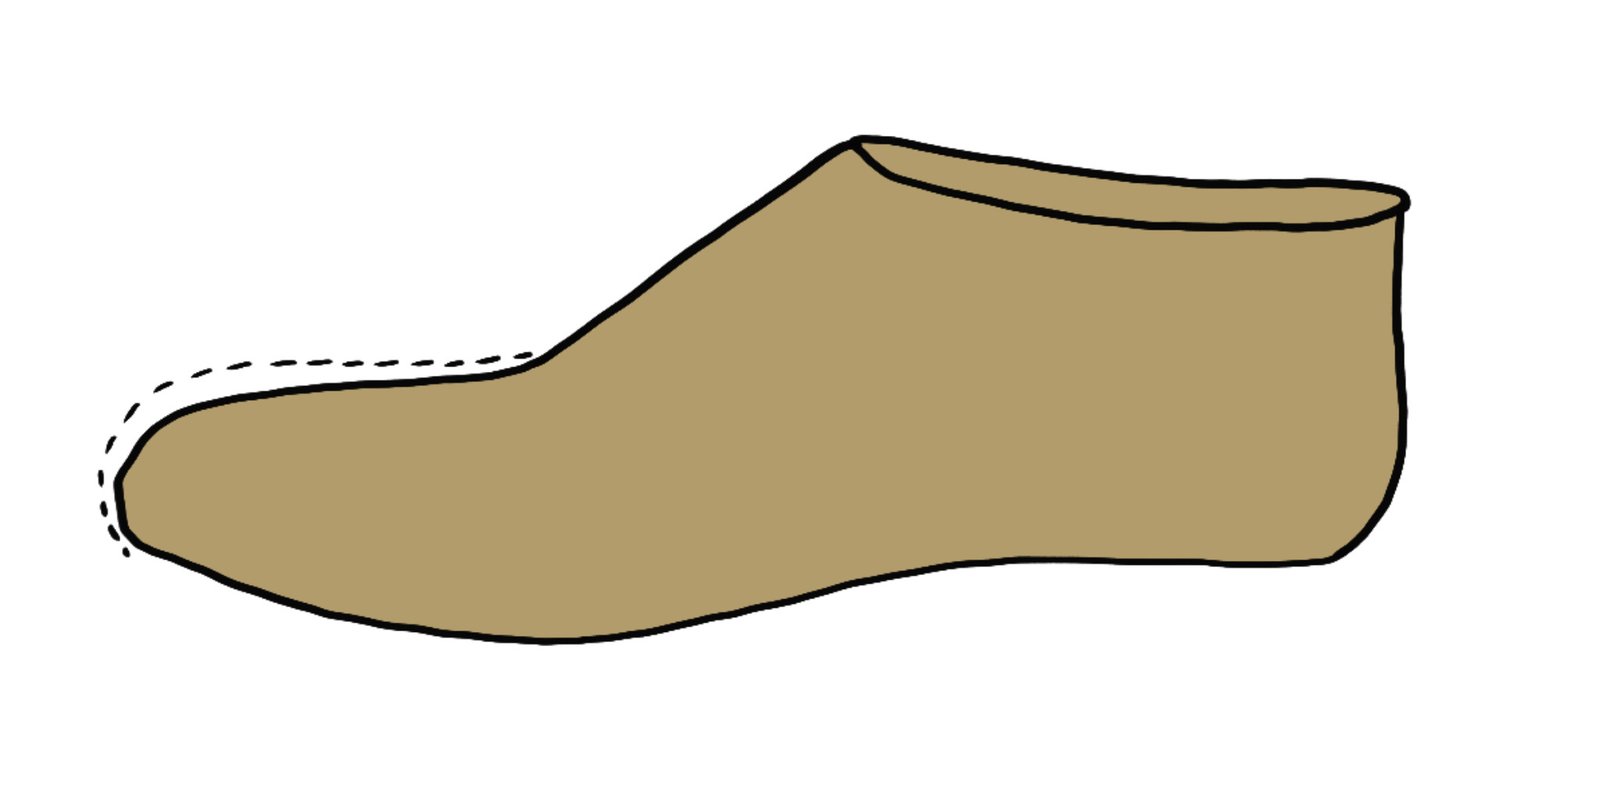
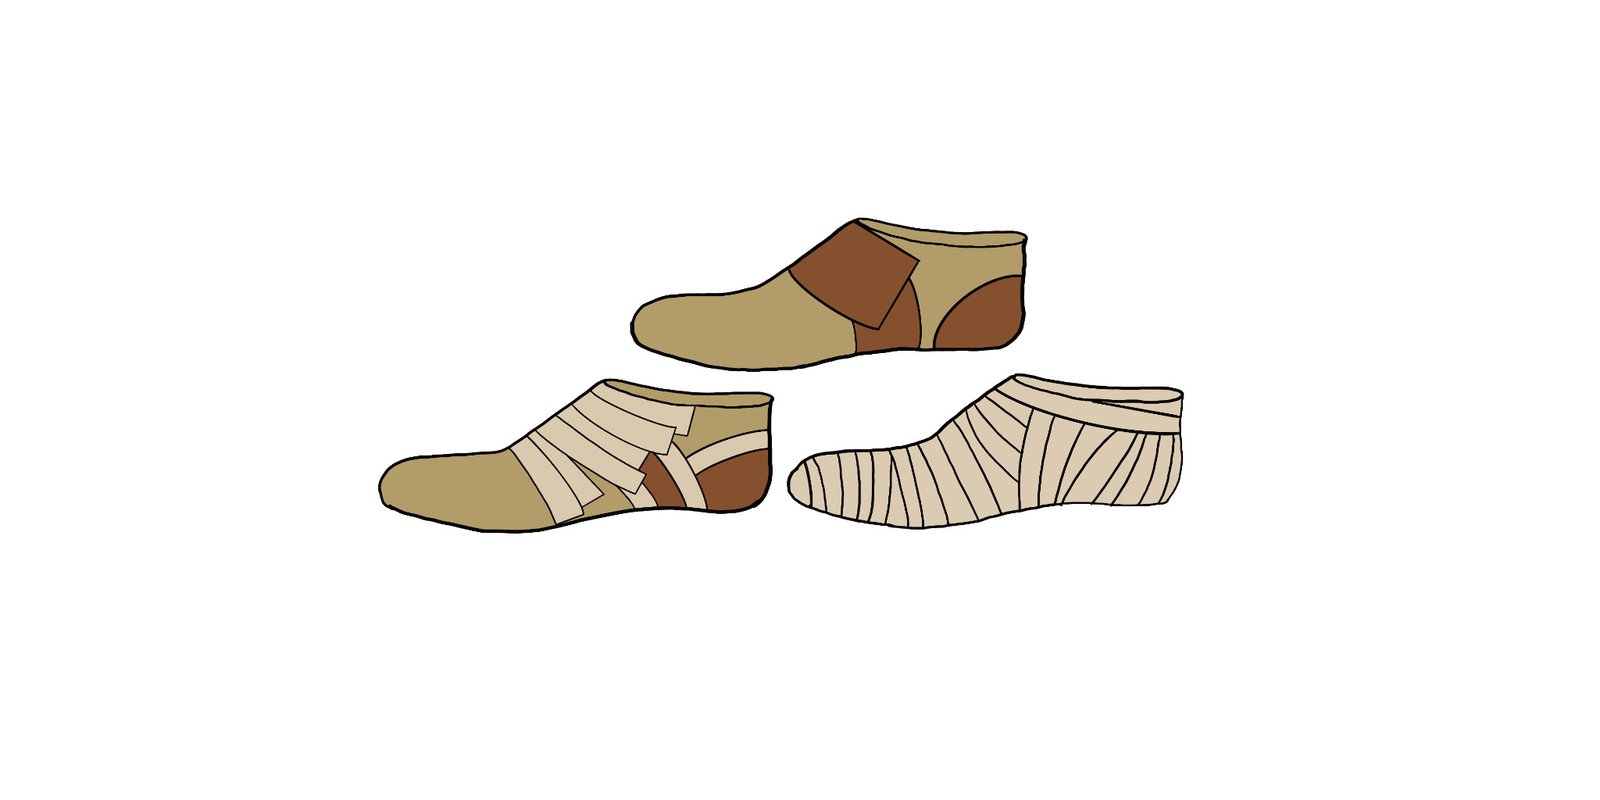
If the customer/client uses an AFO brace or has severe swelling, use leather scraps and tape to build up (patong) the volume around the instep and heel of your wooden or plastic last.
Step 2
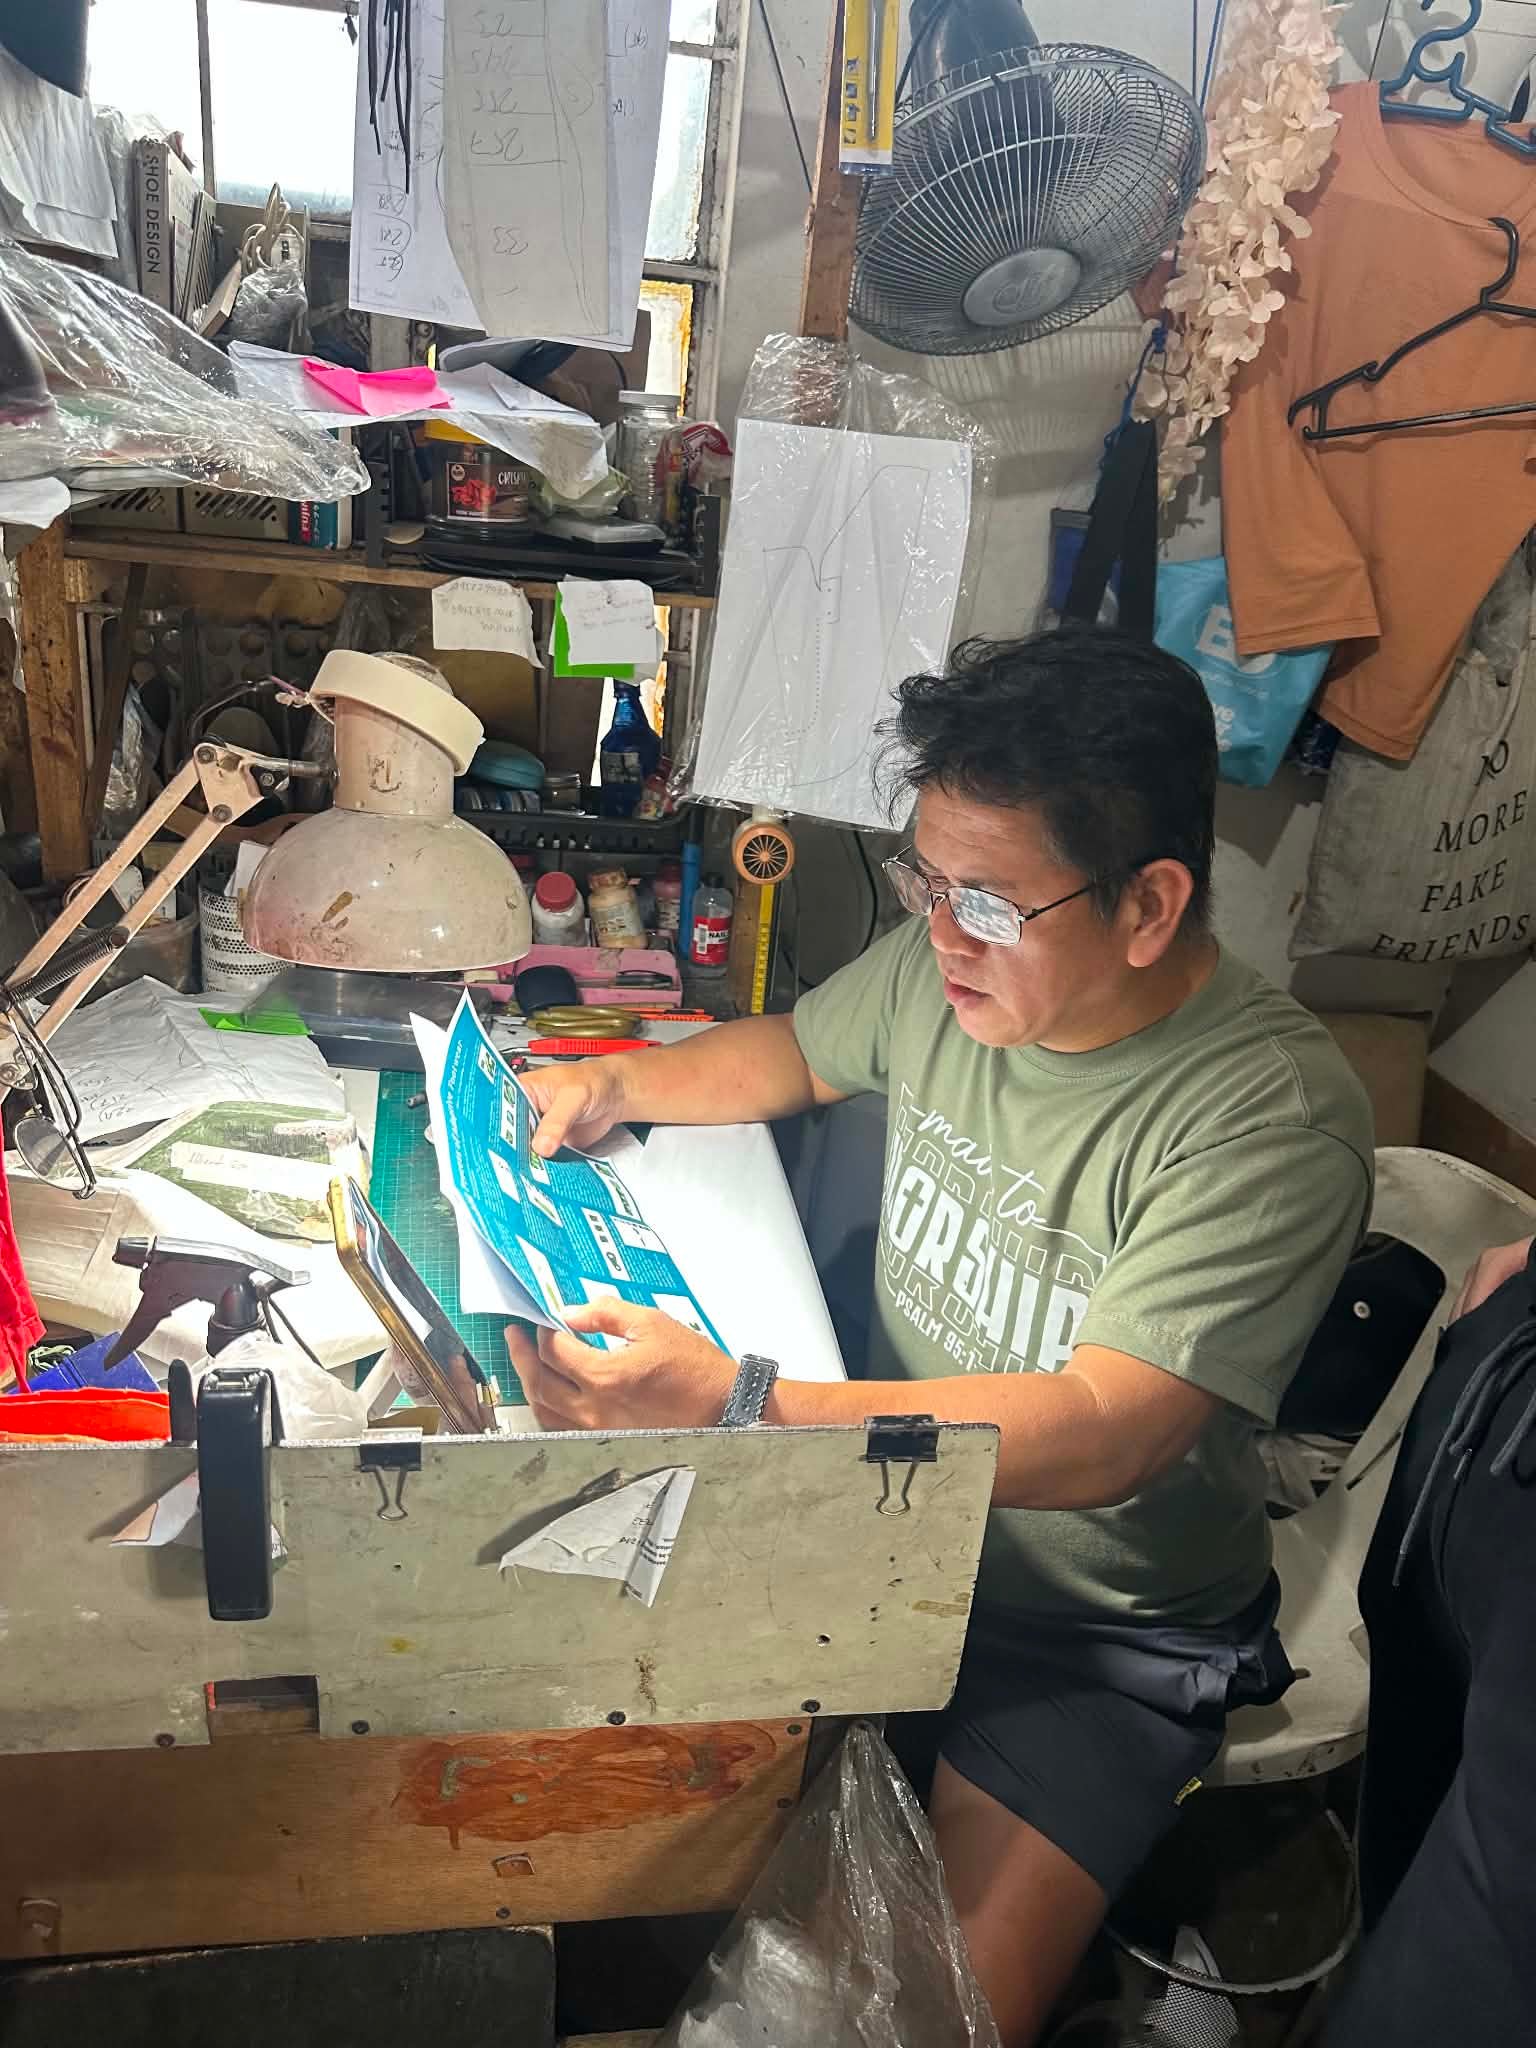
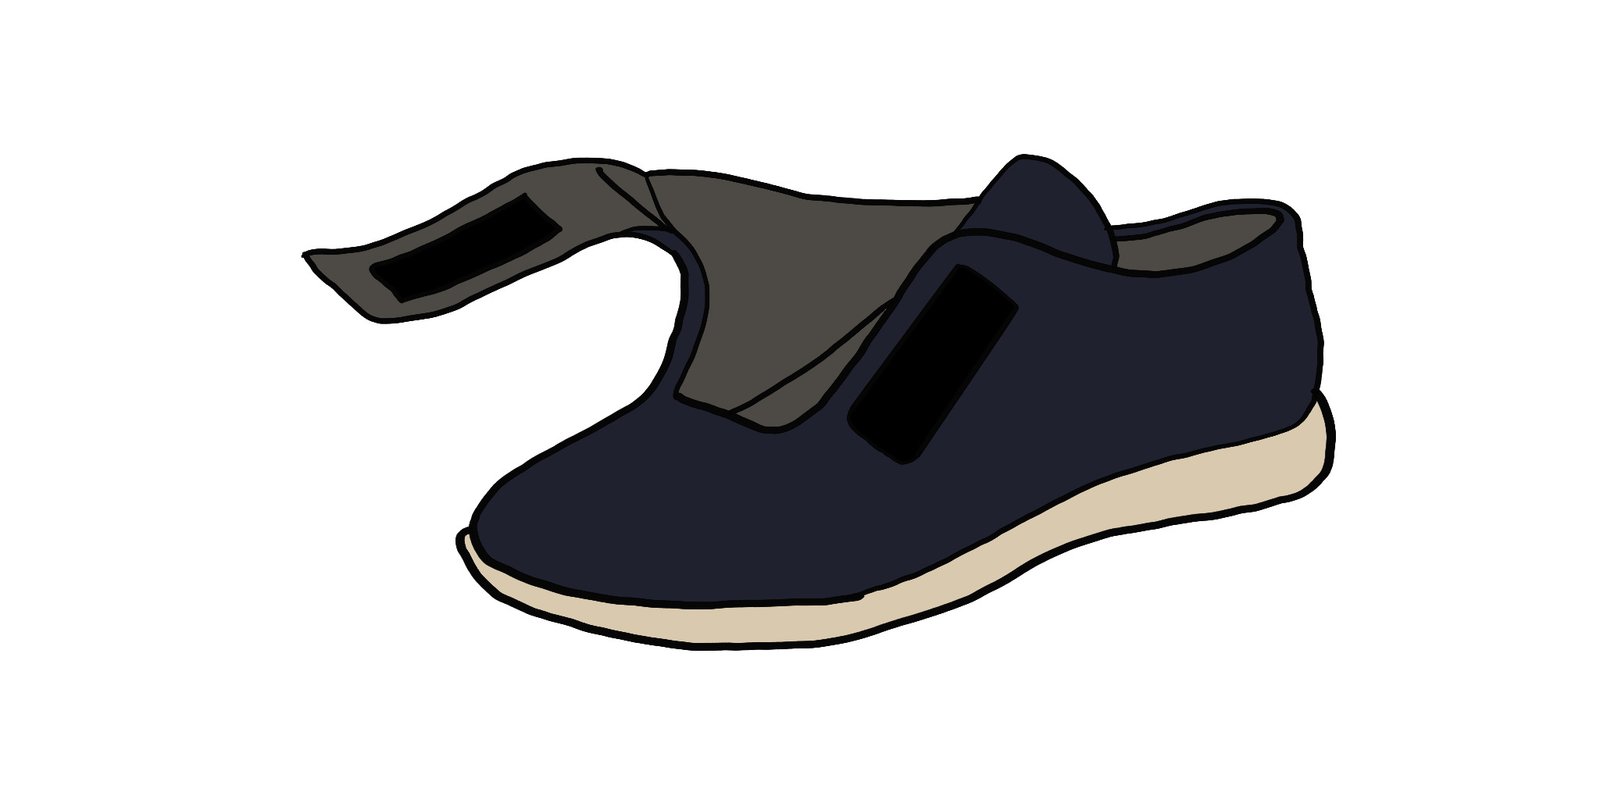
Design a wide-entry upper pattern
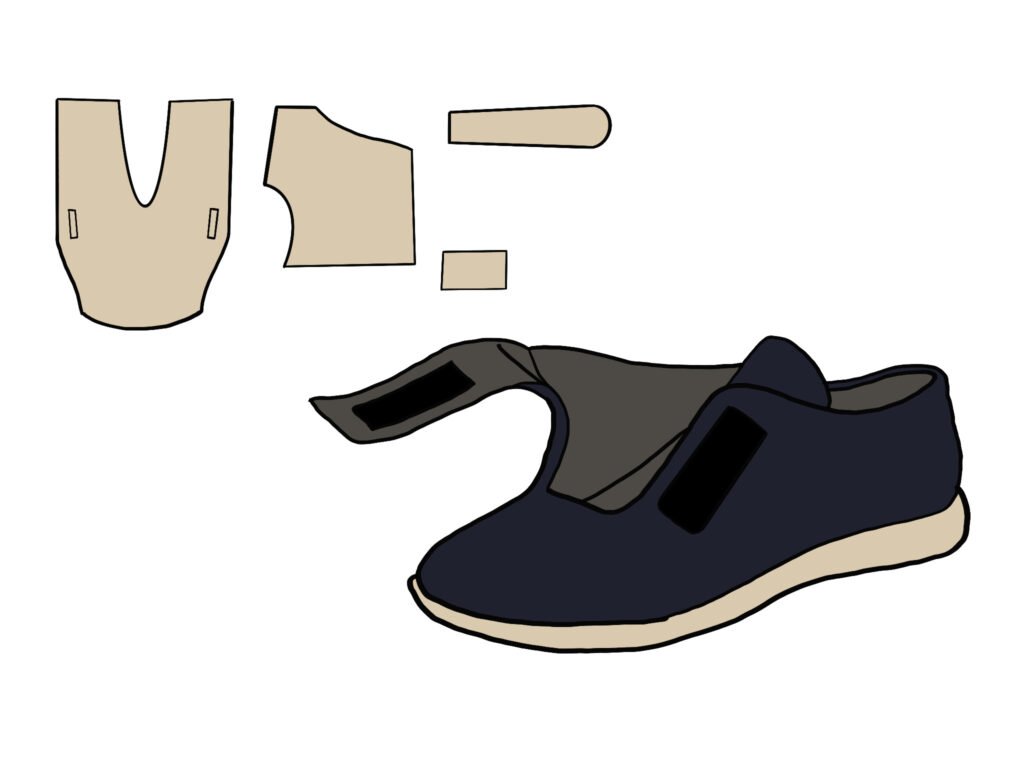
Skip traditional tight laces
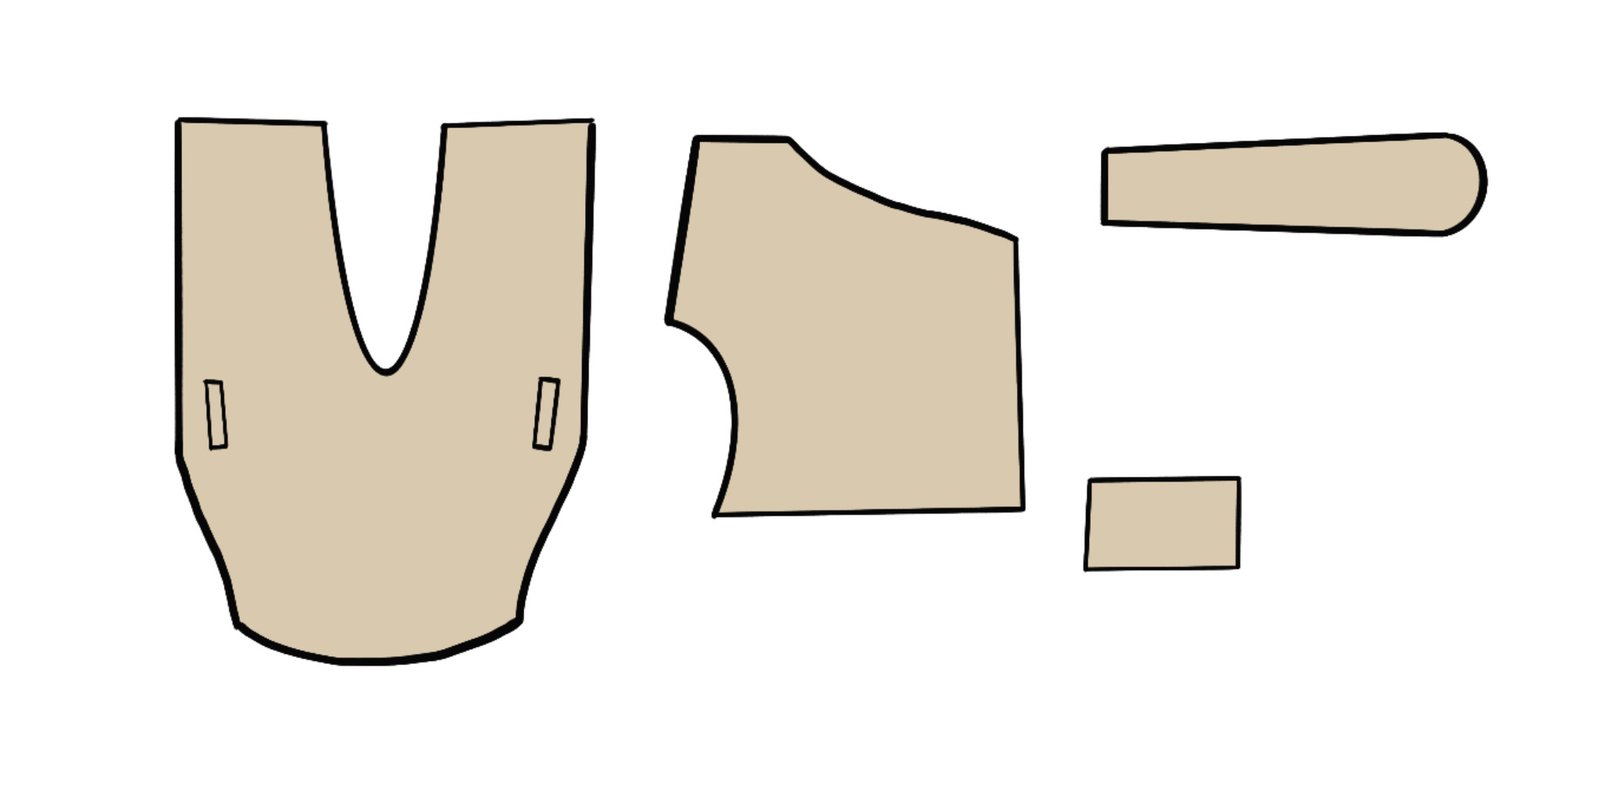
Draw a manual pattern (baston) for a βfly-easeβ or deep split-tongue opening. Use a secure, heavy-duty Velcro strap closure system so the wearer can easily fasten the shoe with one hand.
Step 3
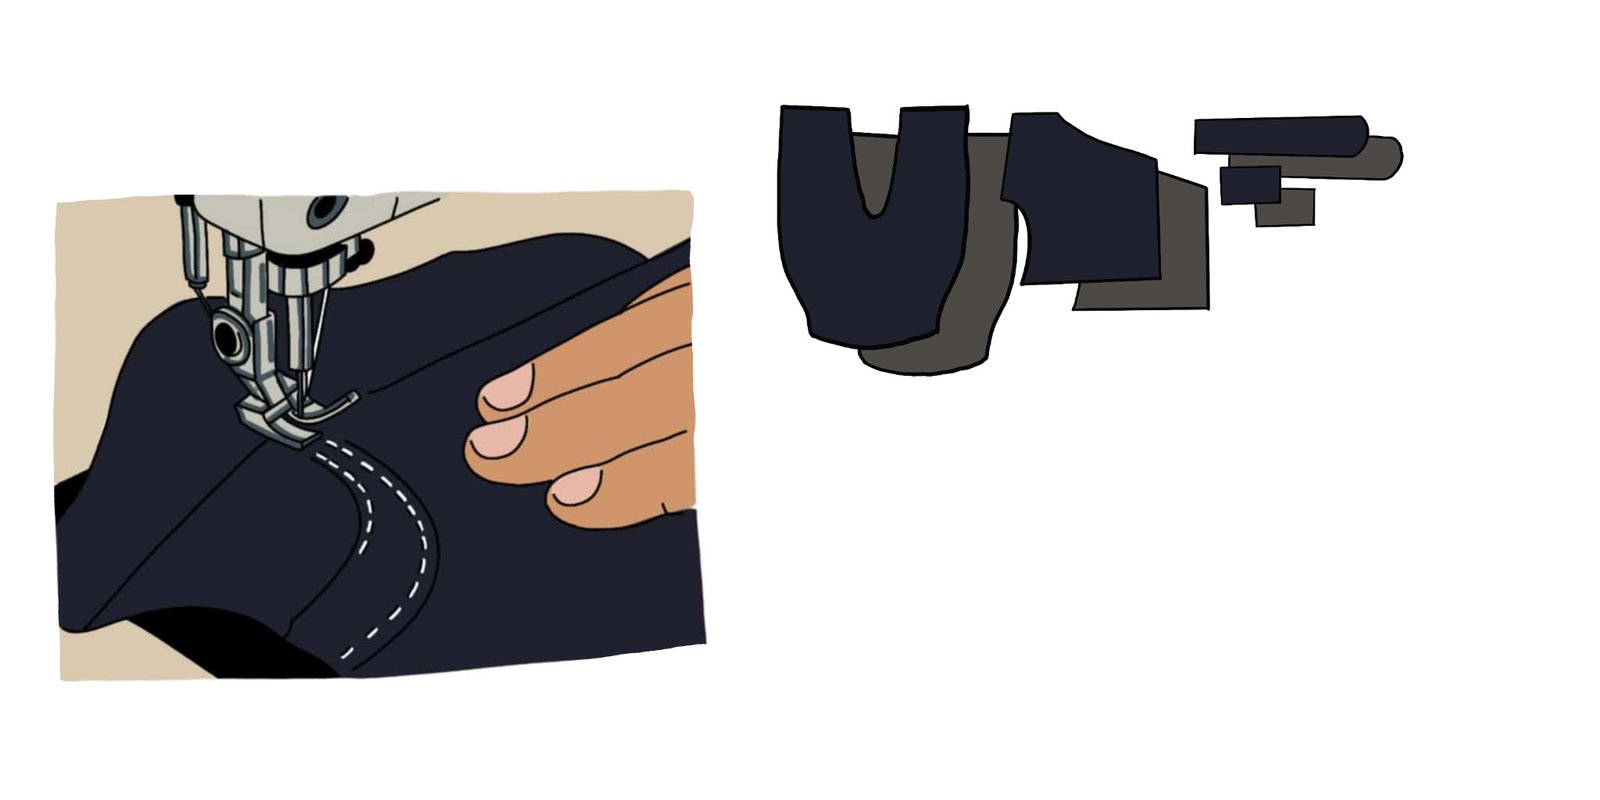
Upper Stitching
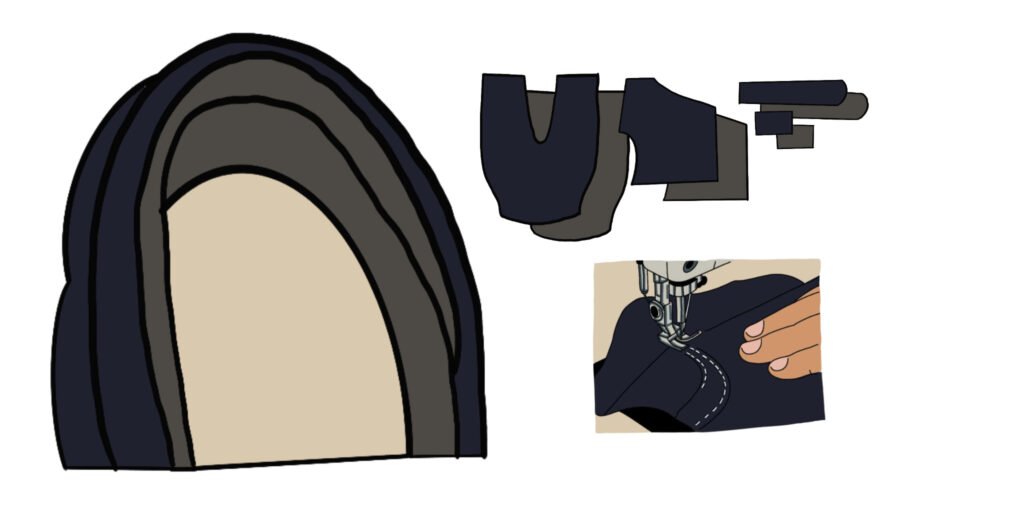
Soft, breathable textiles
Cut and sew the upper using soft, breathable textiles instead of stiff leather to avoid pressure sores. Ensure there are no rough inner seams near the toes.
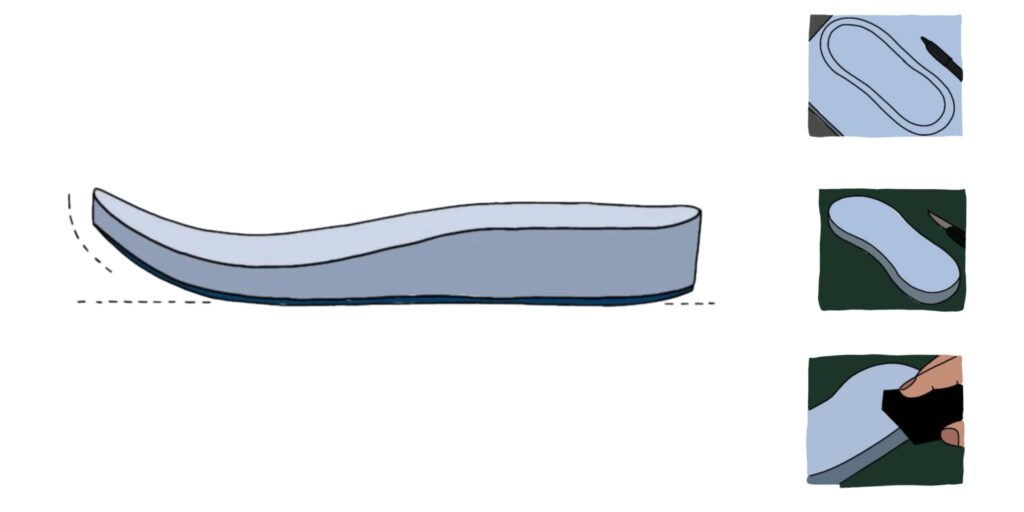
Step 4
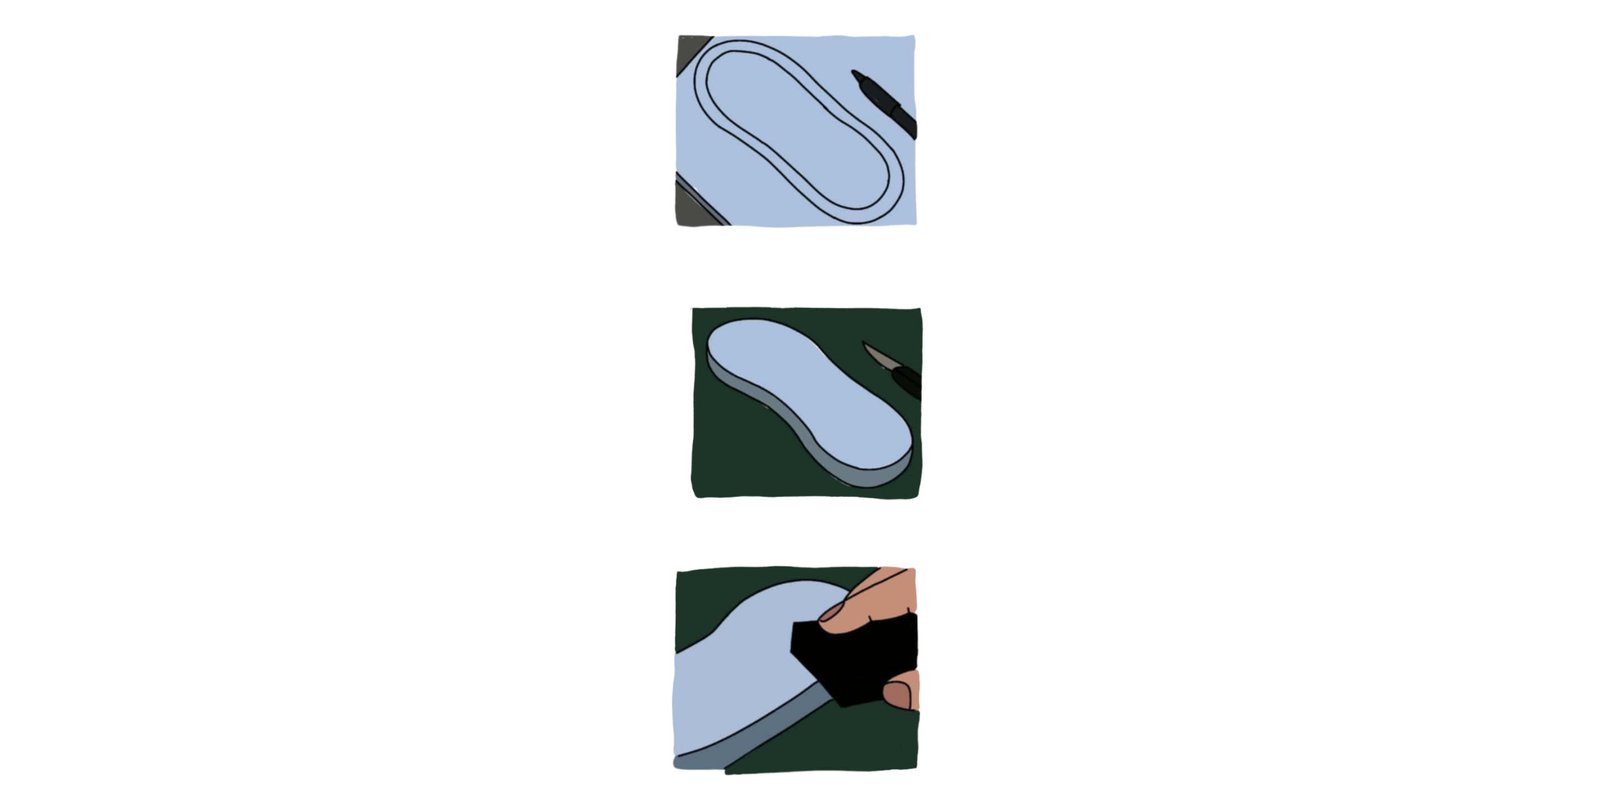
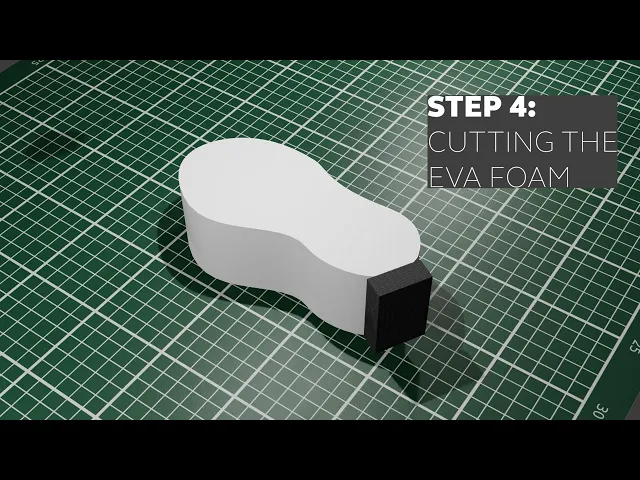
Cut the soft, low-density EVA foam (βcushion EVAβ)

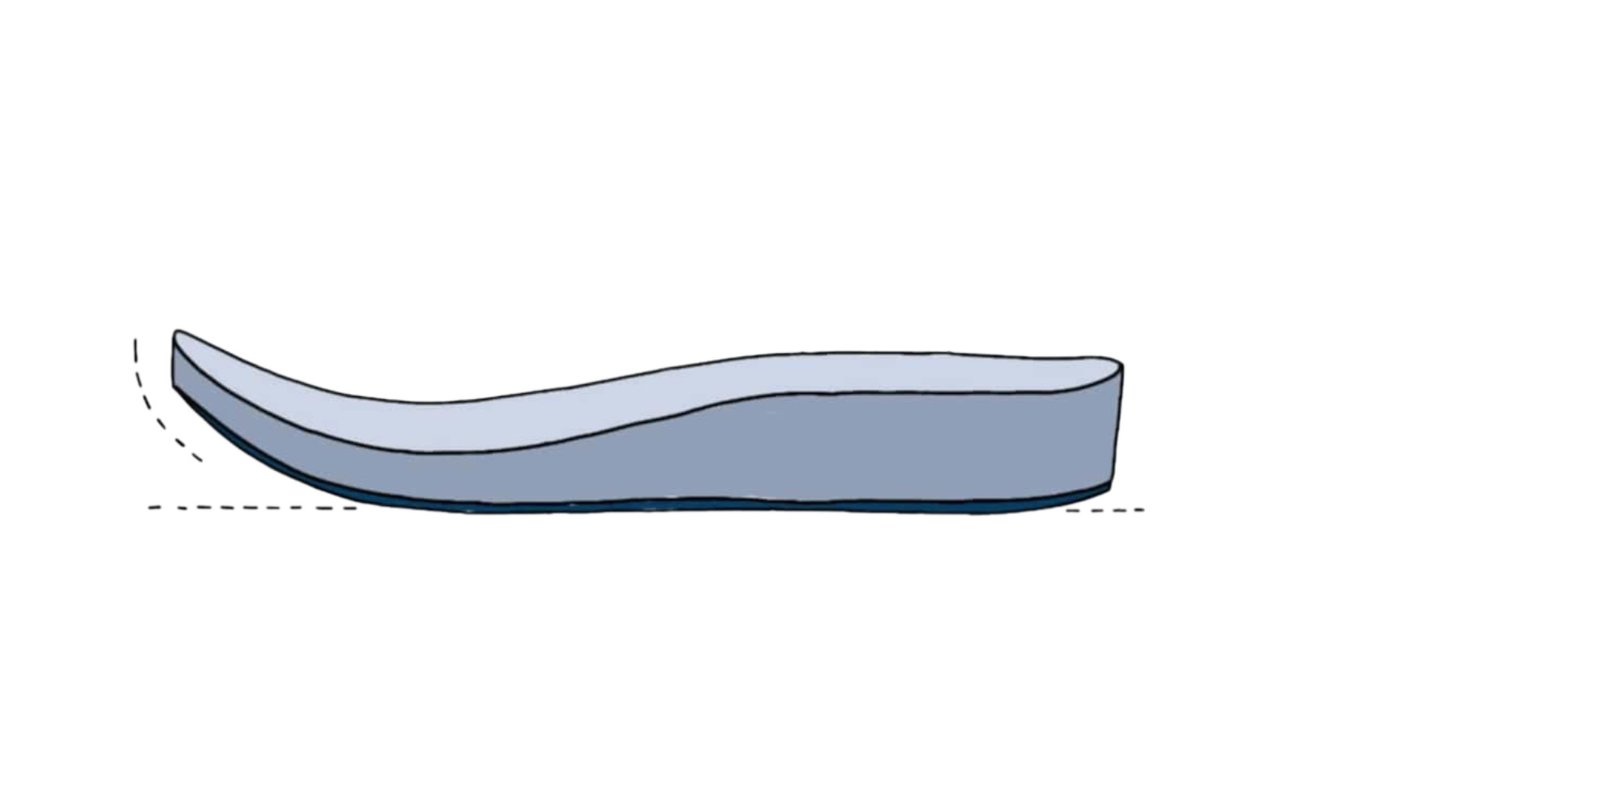
Rocking chair soles
Shape it into a slight rocker sole (curved like a rocking chair). This shape naturally helps a person roll forward smoothly if they tend to drag their feet.
Step 5
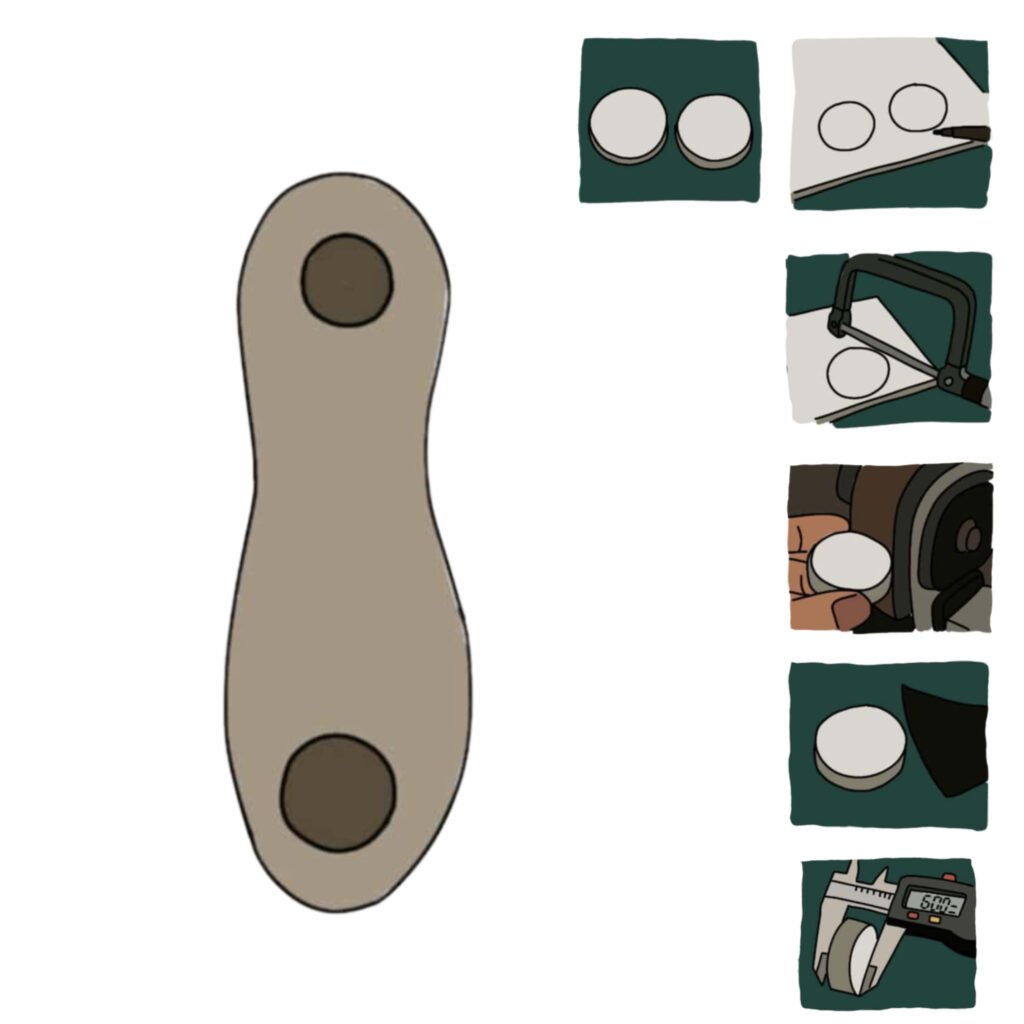
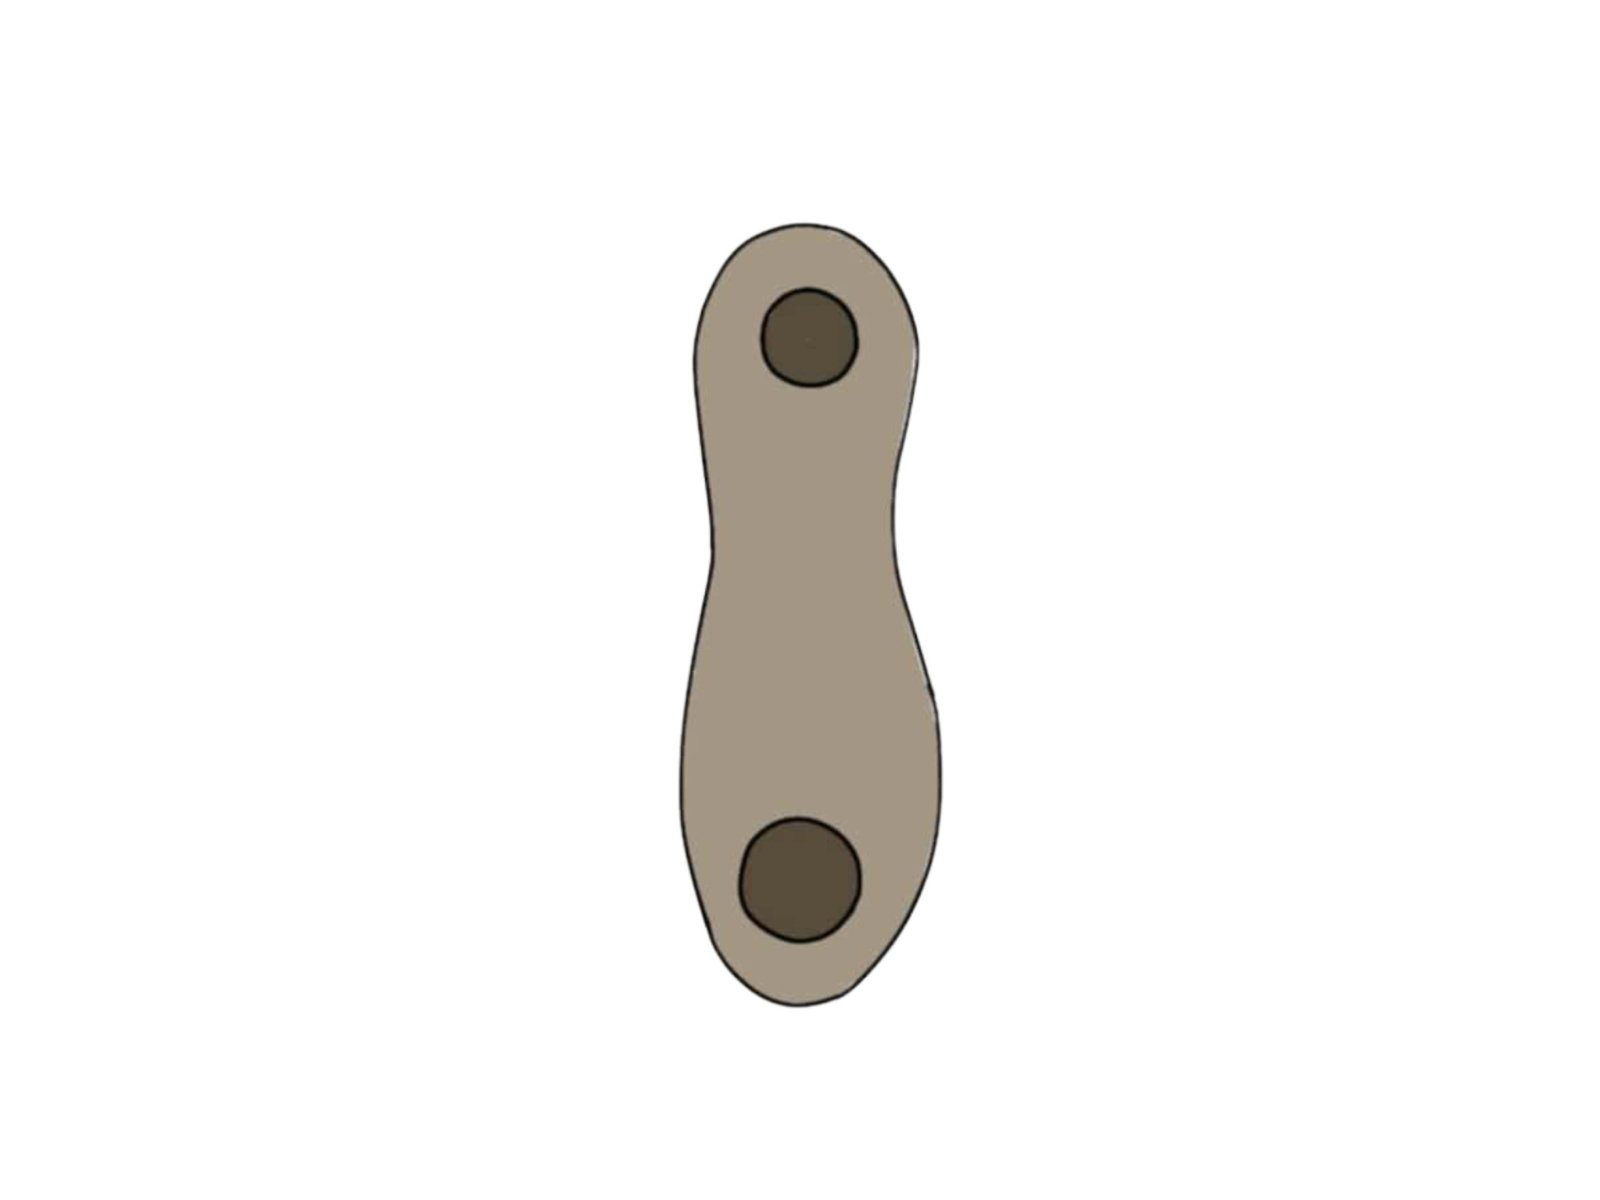
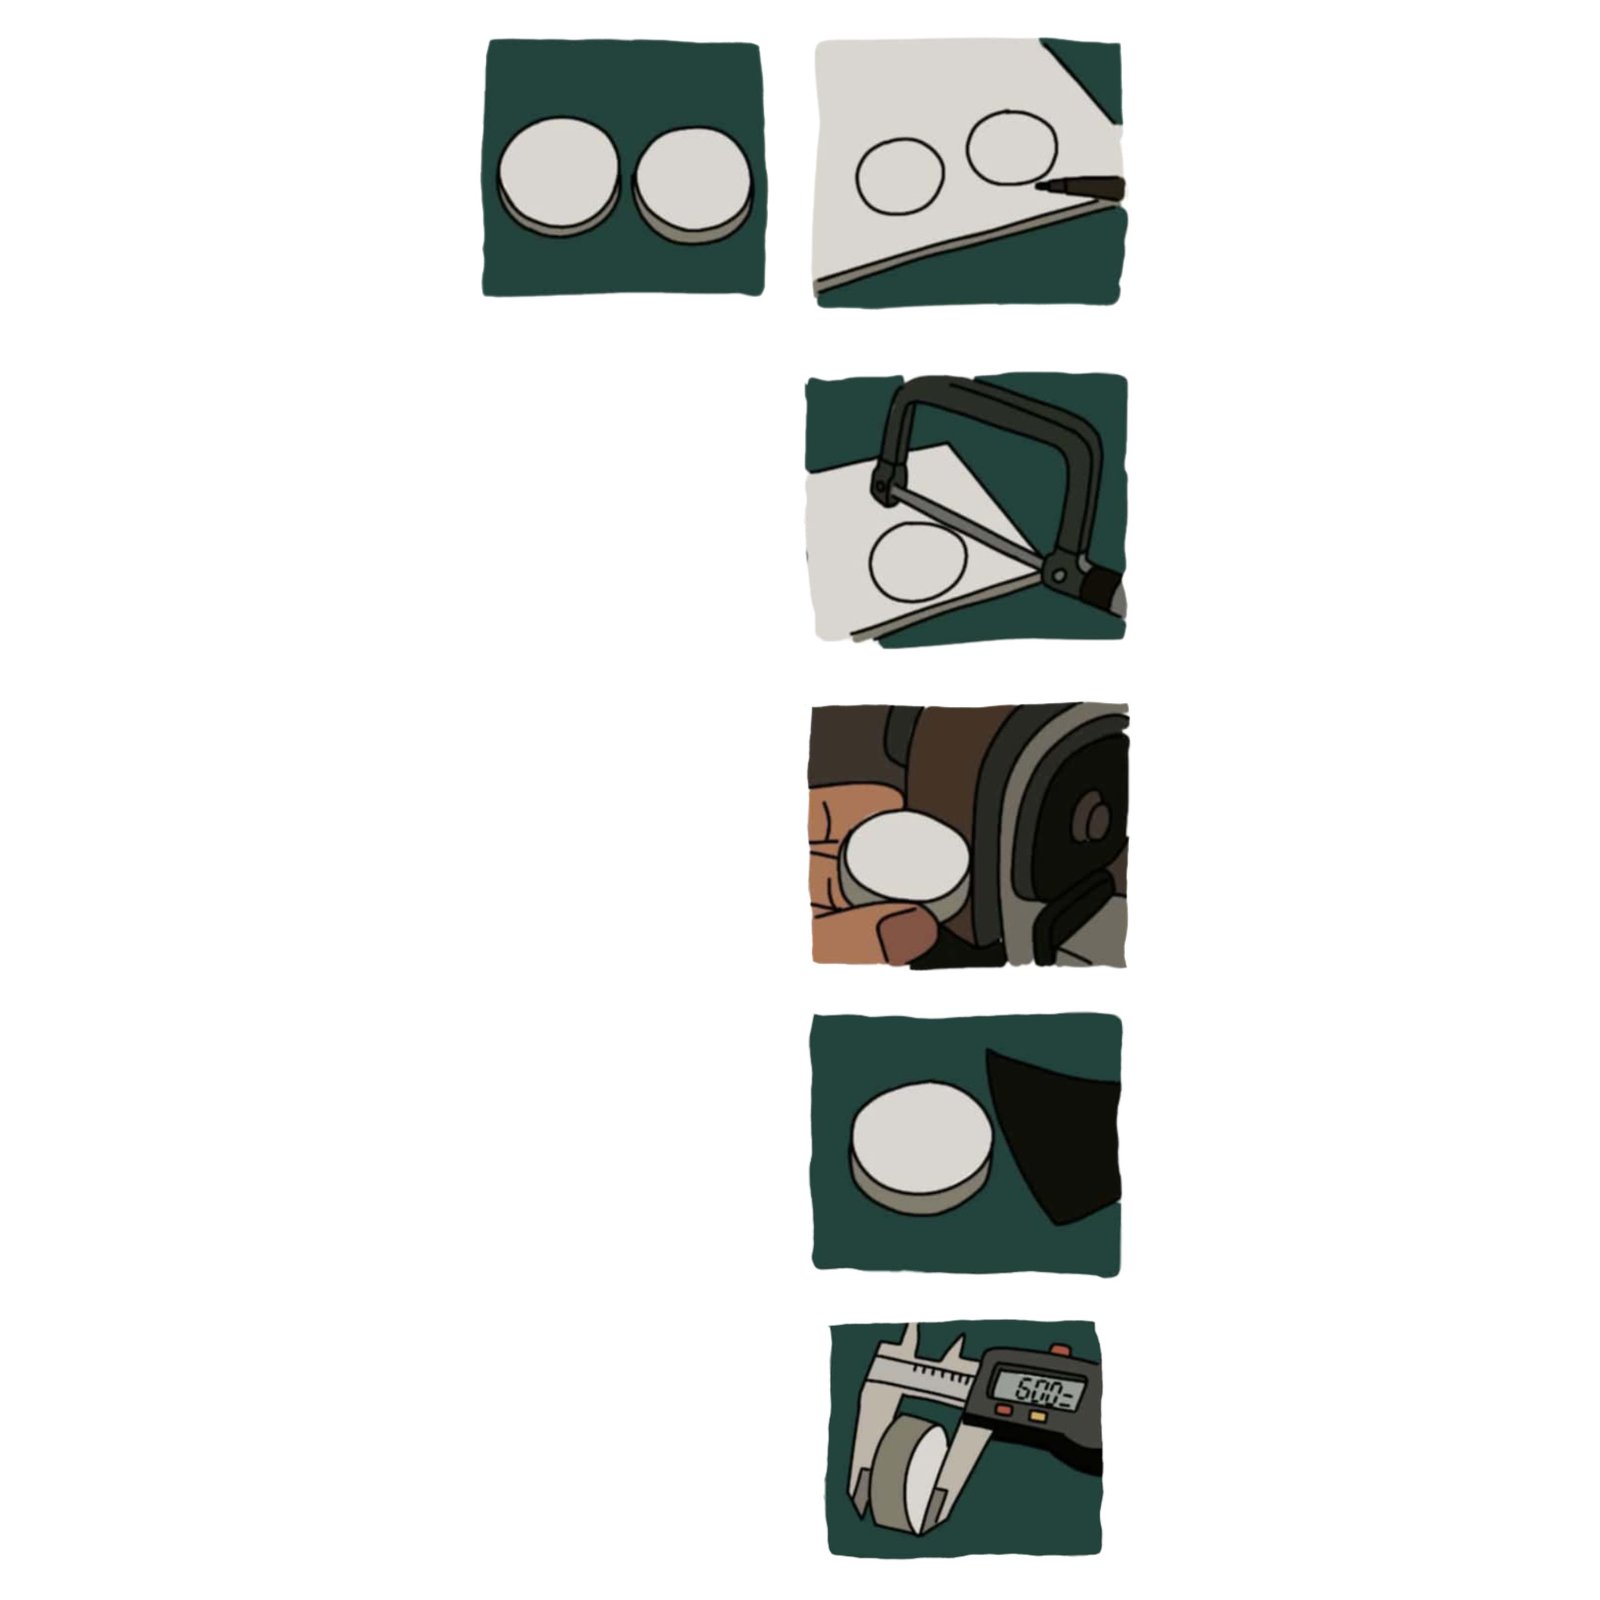
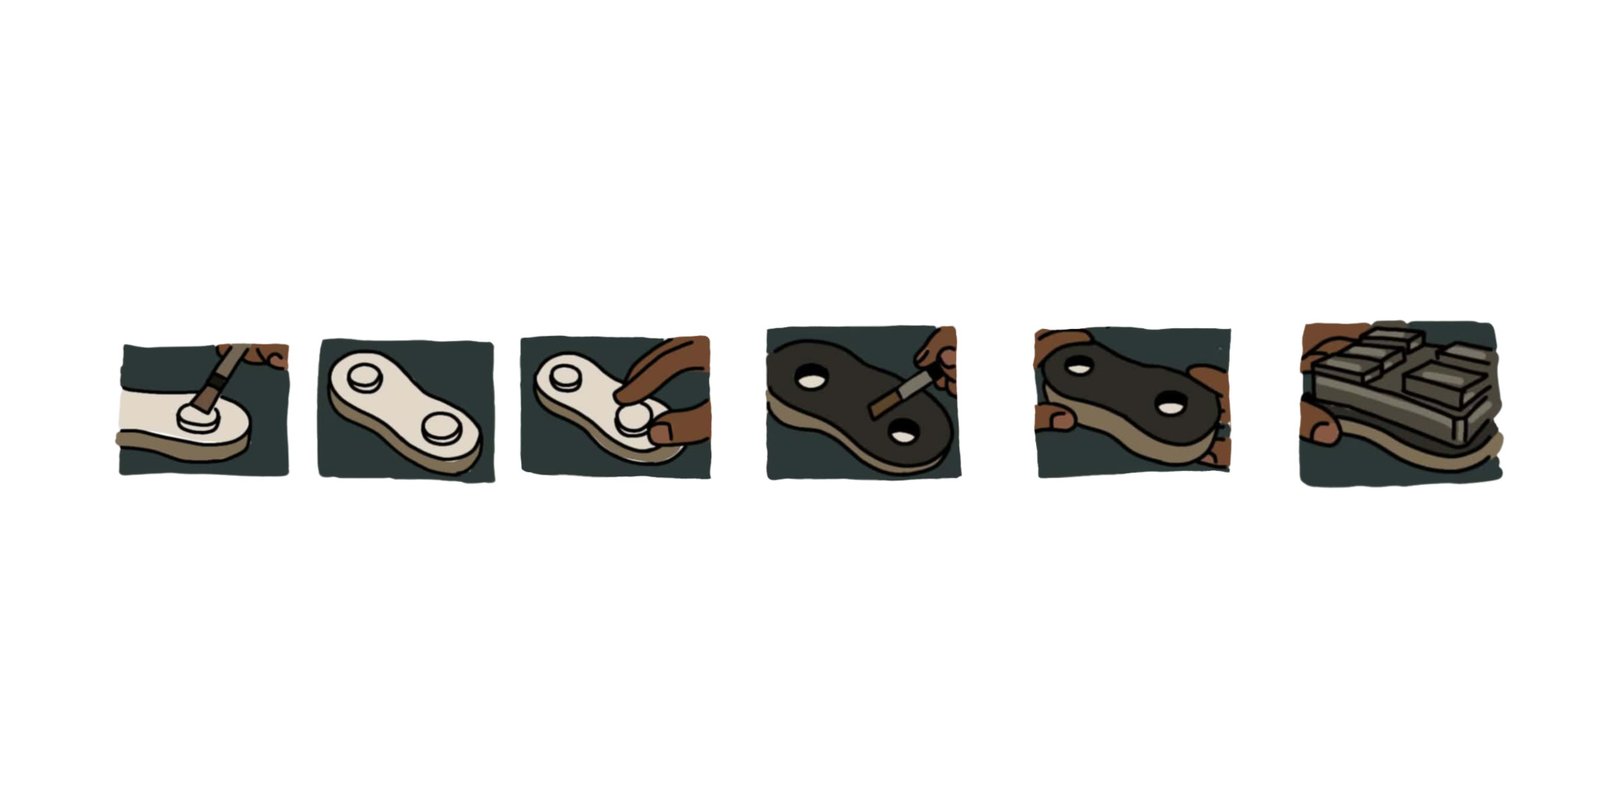
Prepare the Low-friction βPucksβ

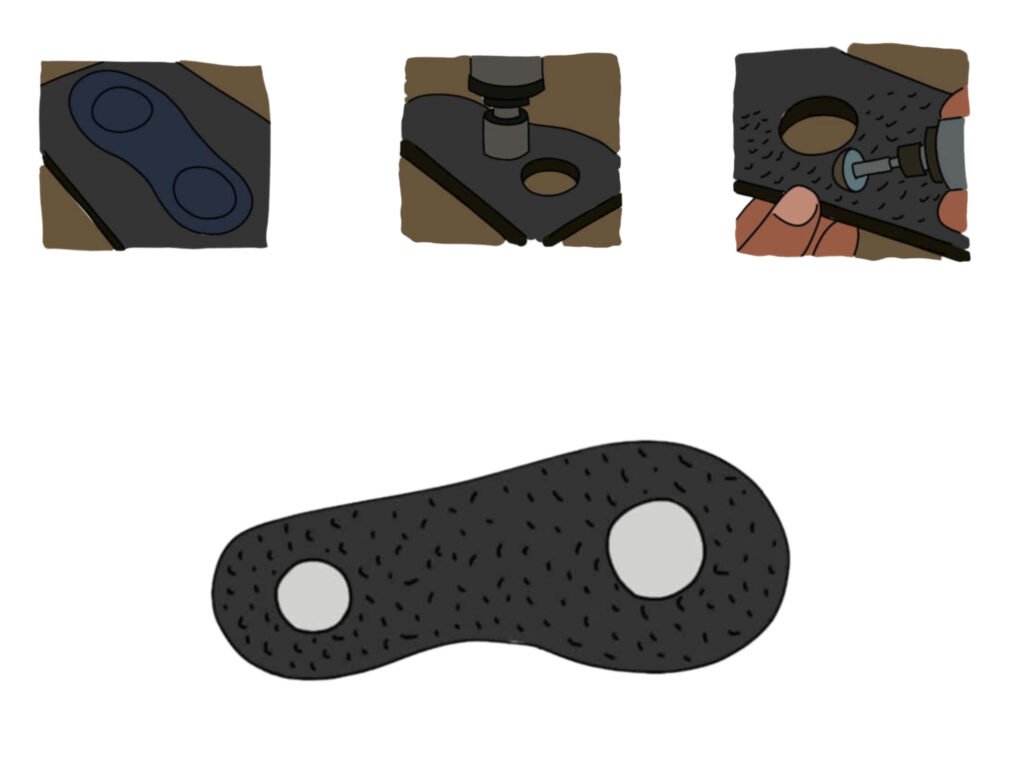
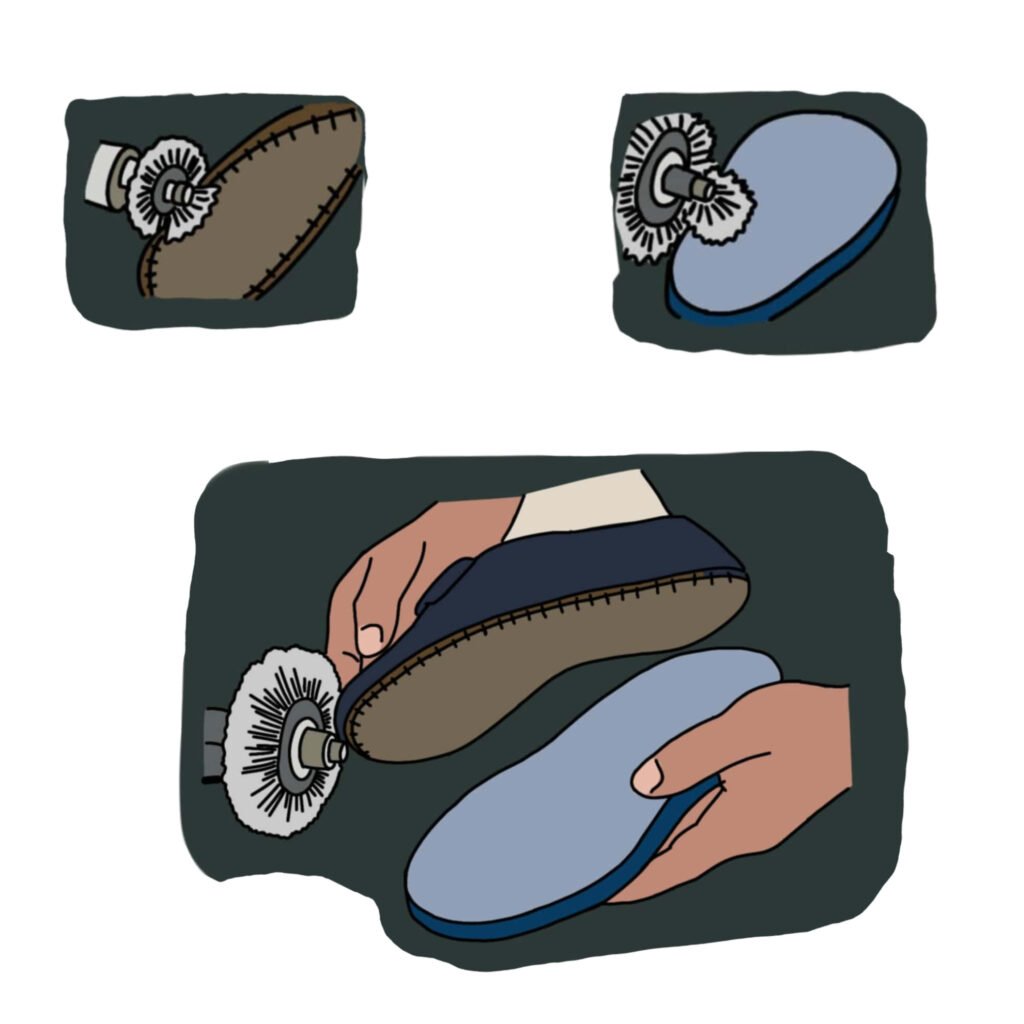
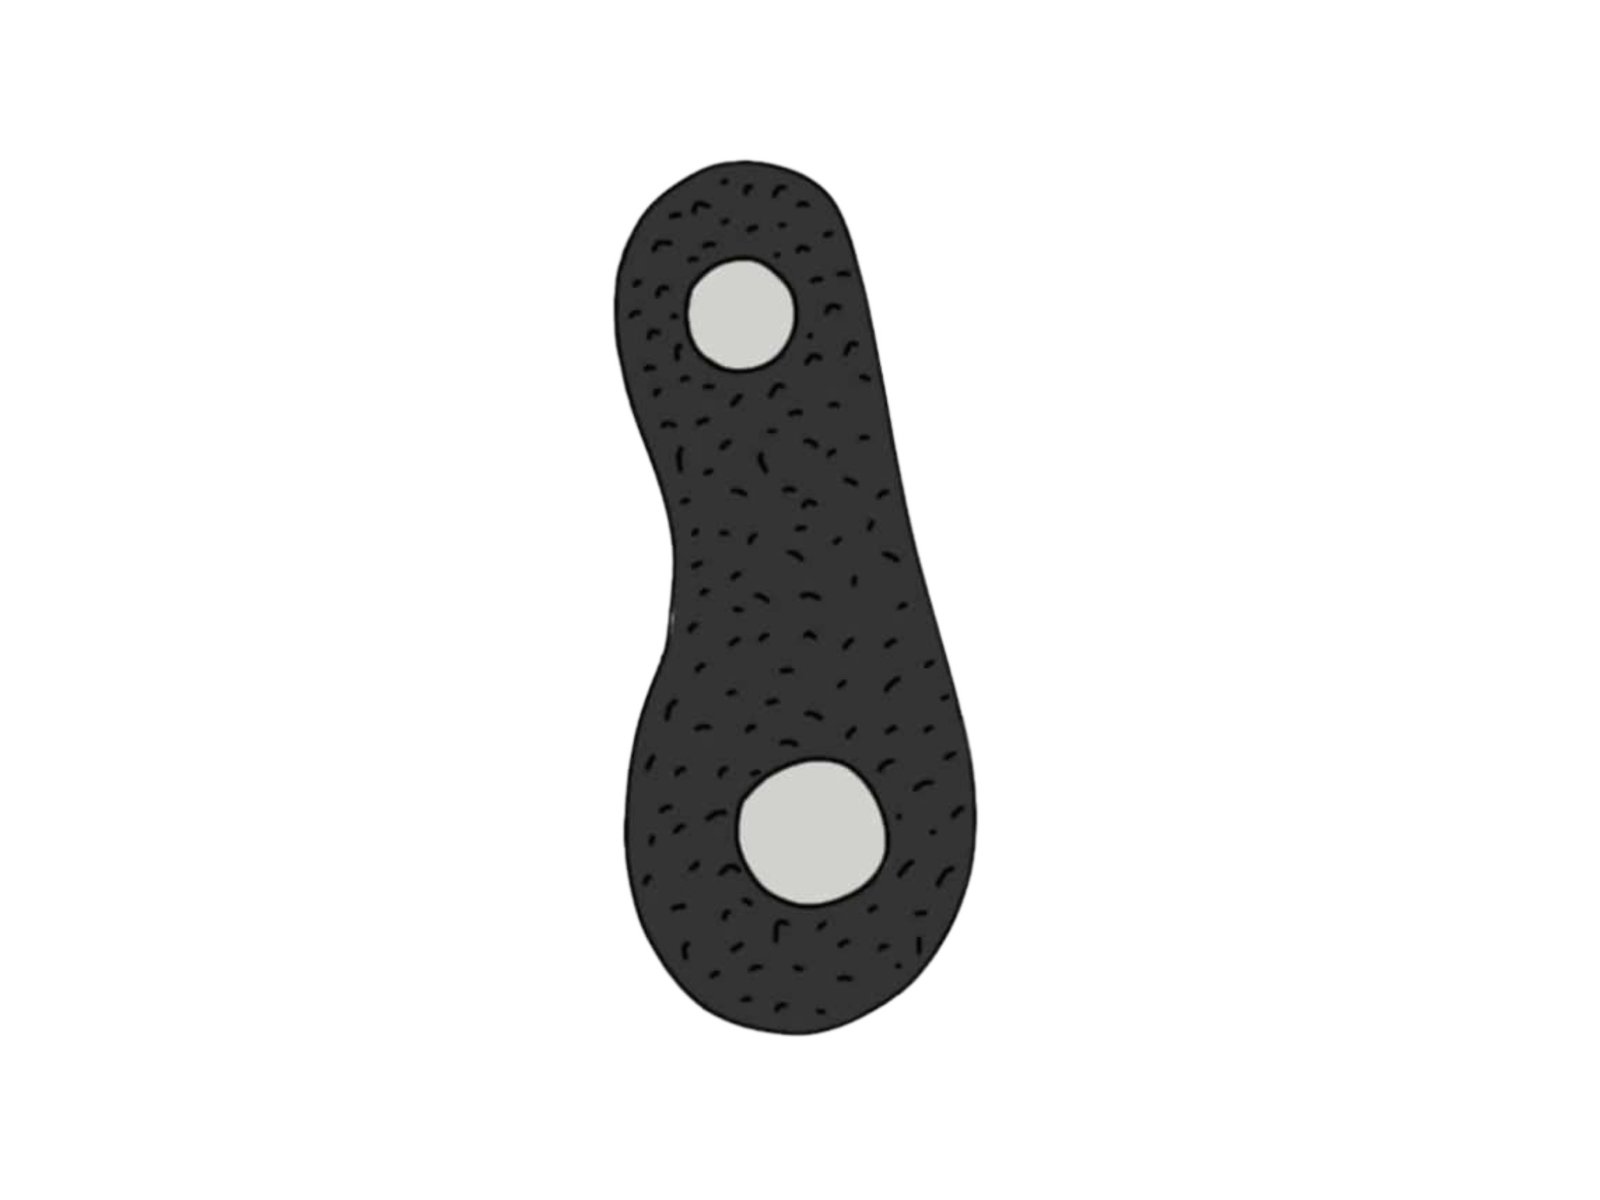
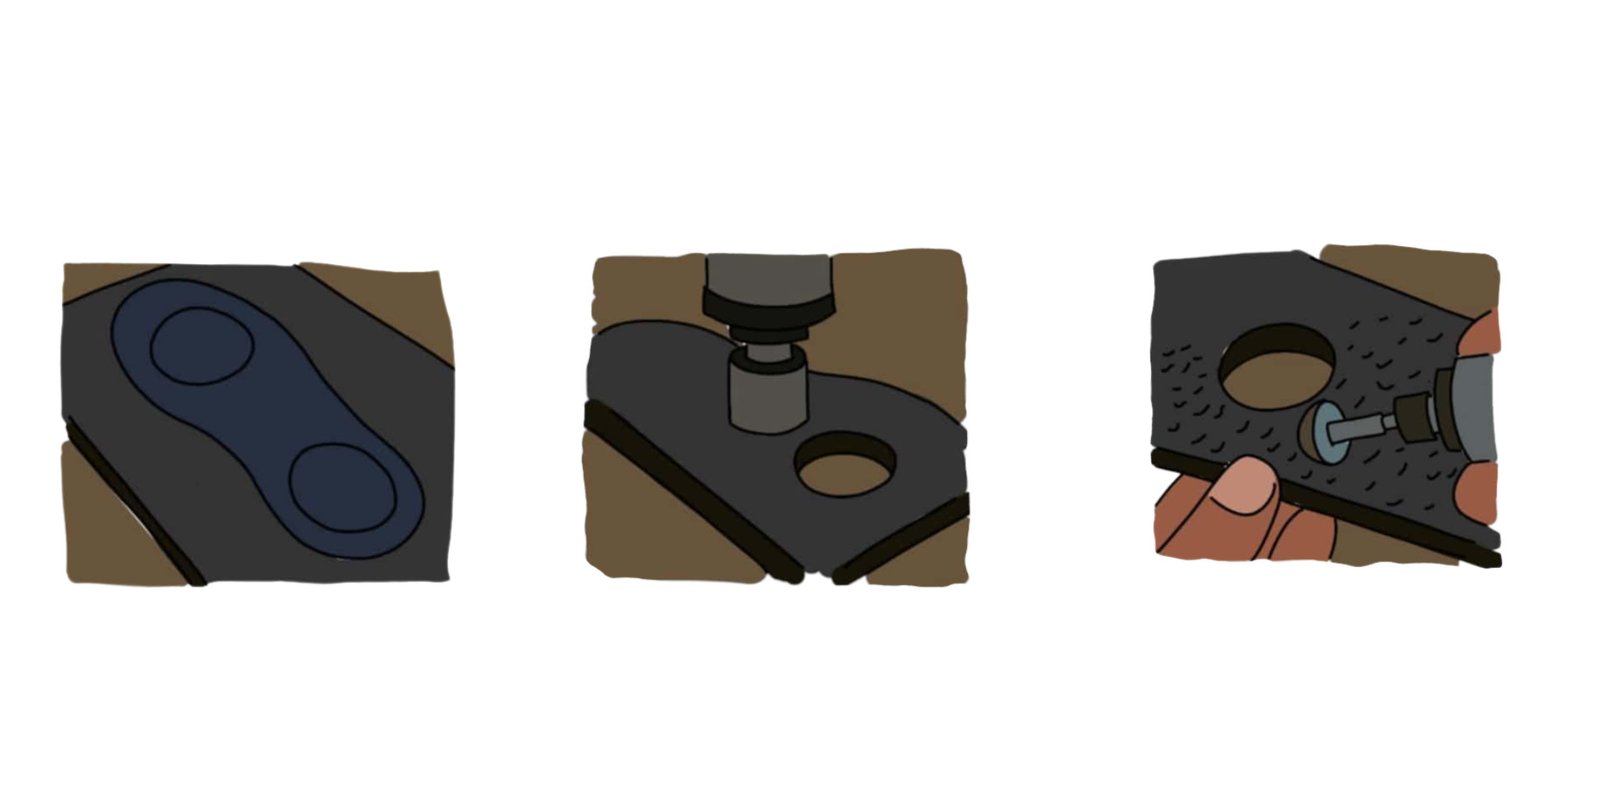
Finish the sole
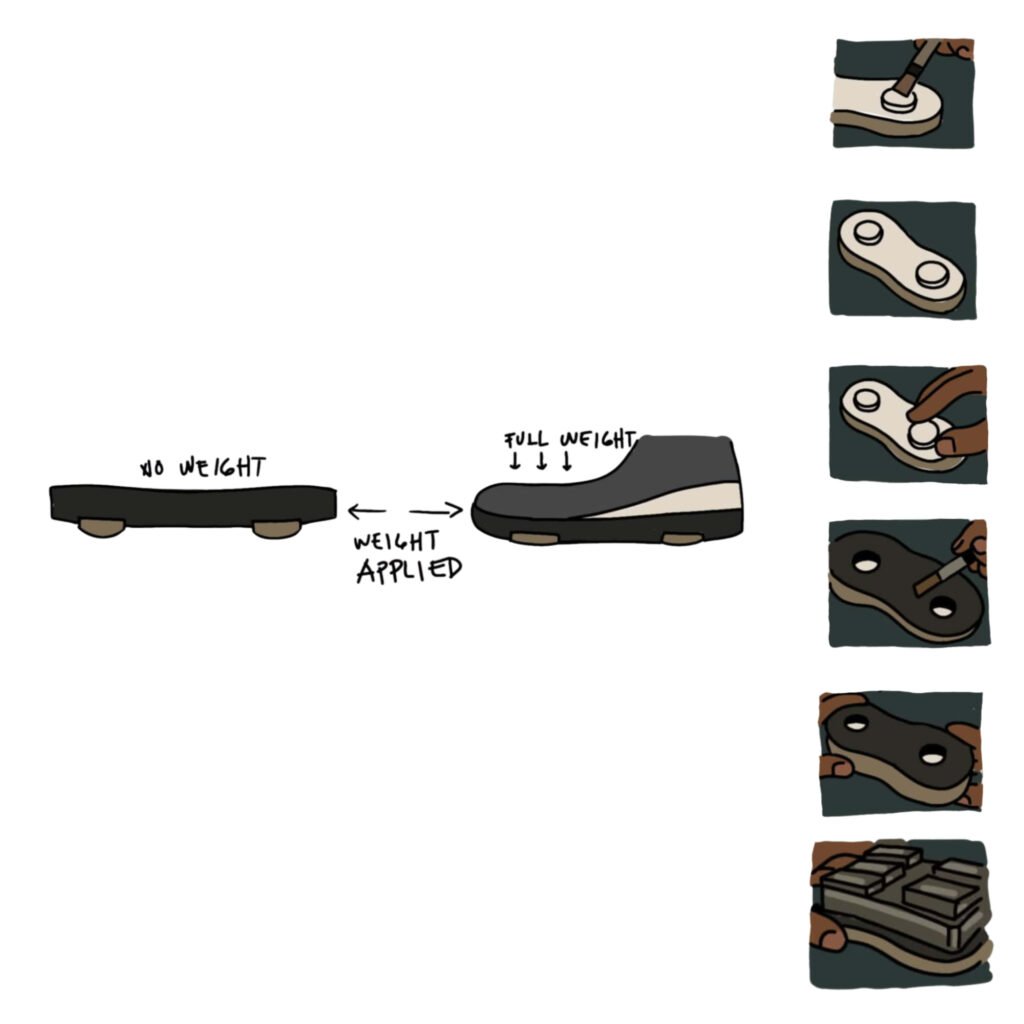
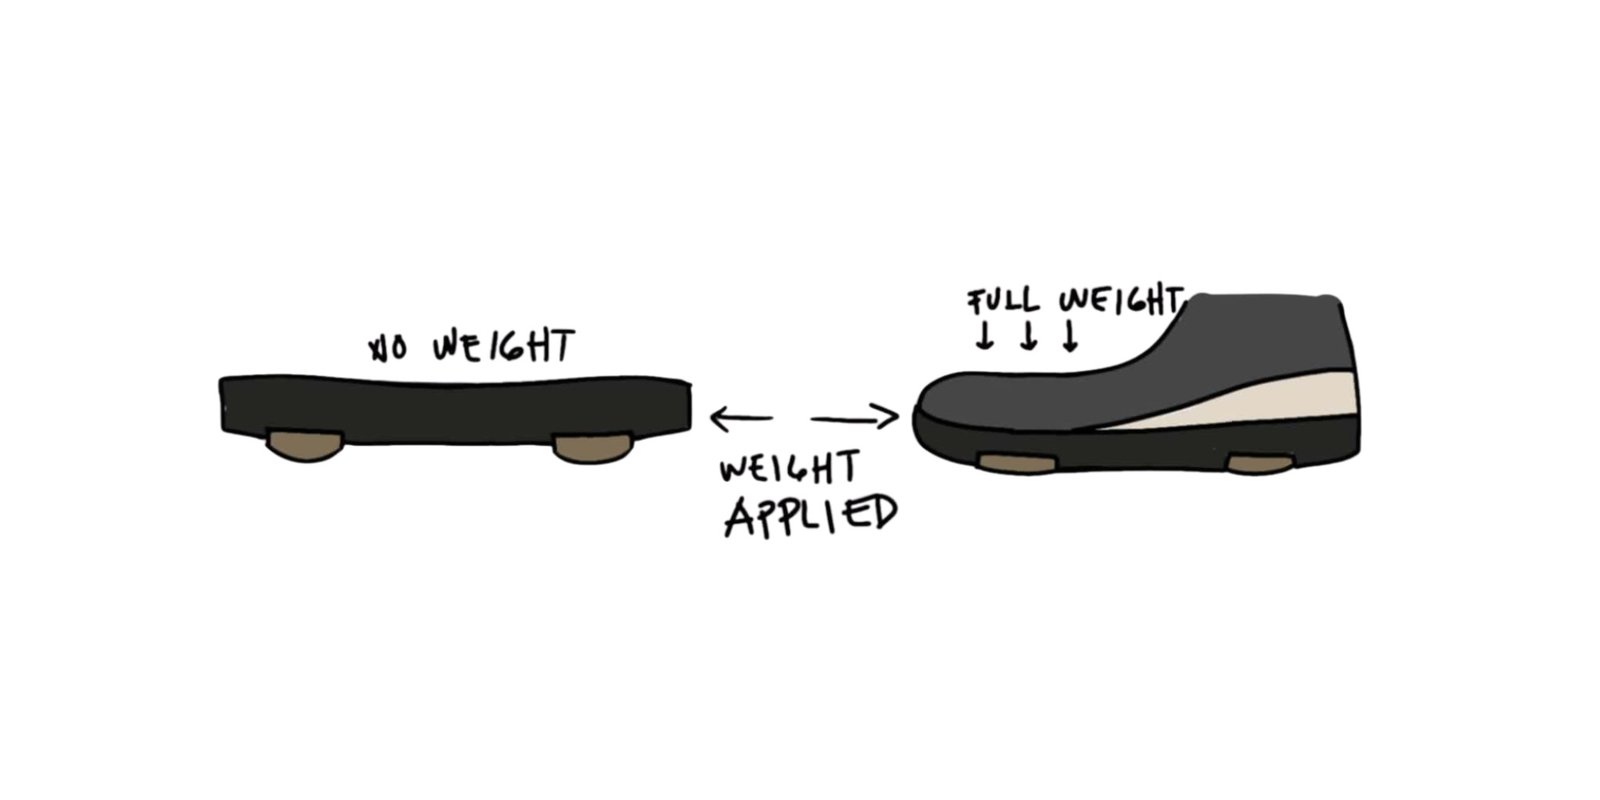
How it works manually
When the user takes a step and accidentally scuffs the ground, the protruding smooth plastic puck hits the floor first and glides smoothly. But the moment they plant their full body weight down, the soft EVA foam inside compresses deeply, hiding the plastic pucks and pushing the high-grip rubber into full contact with the floor to keep them from fallling.
Step 8
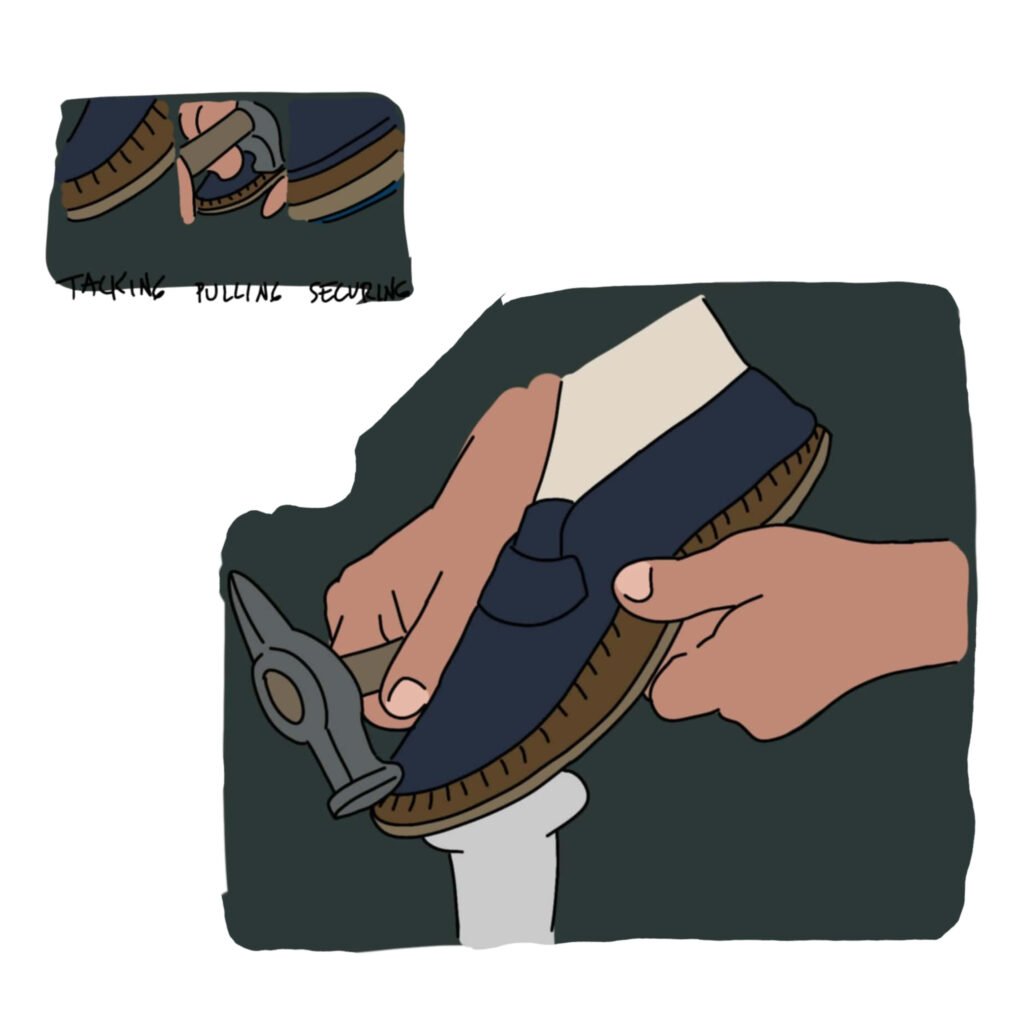
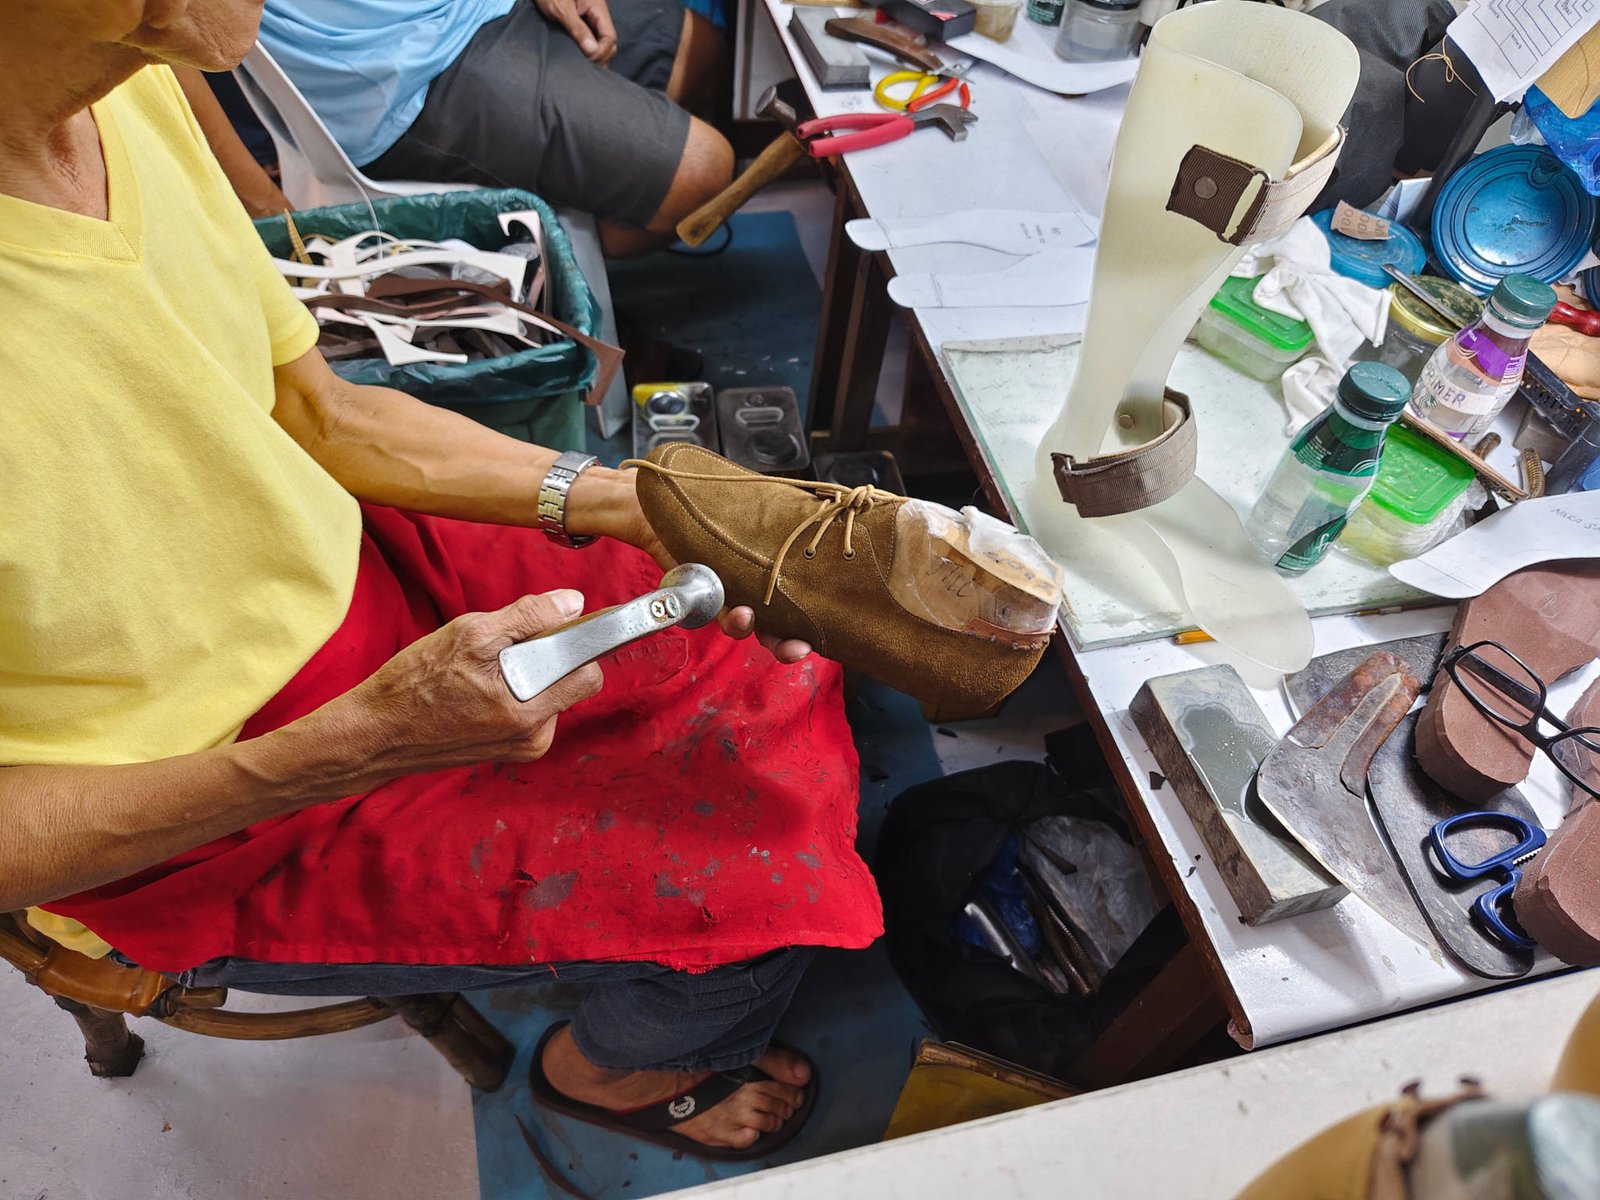
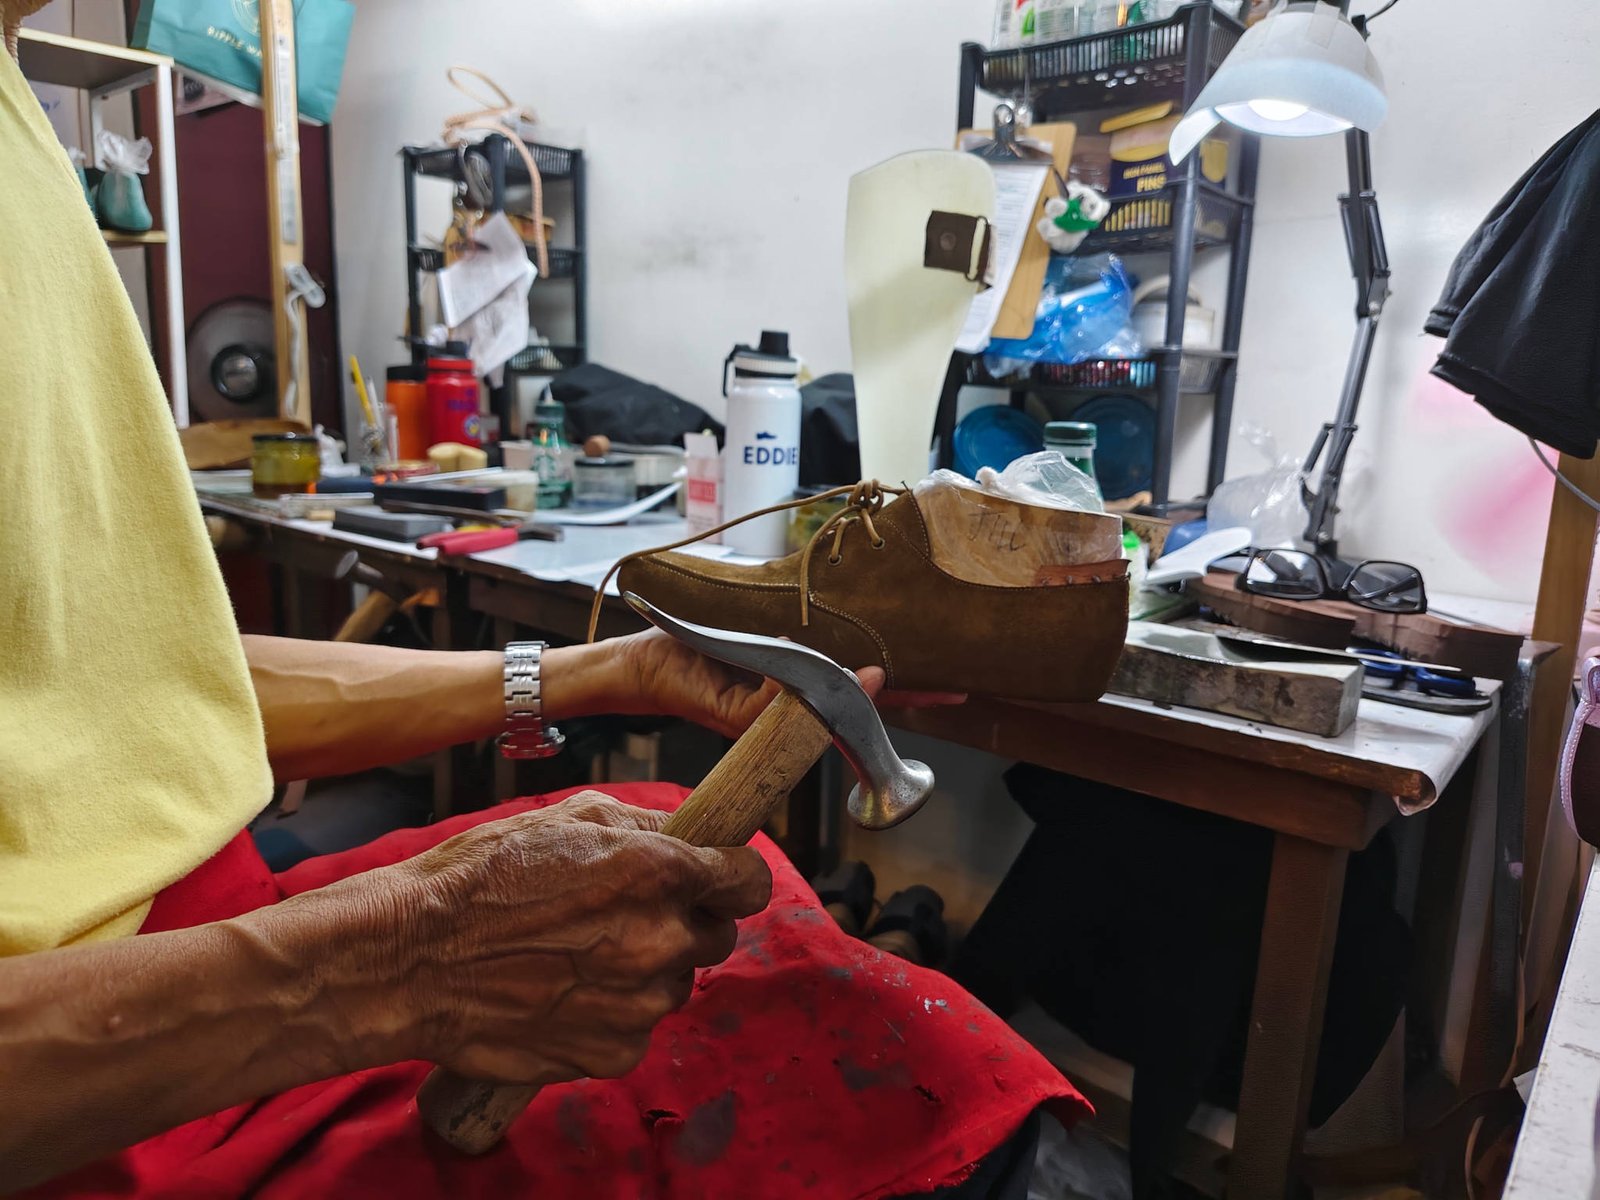
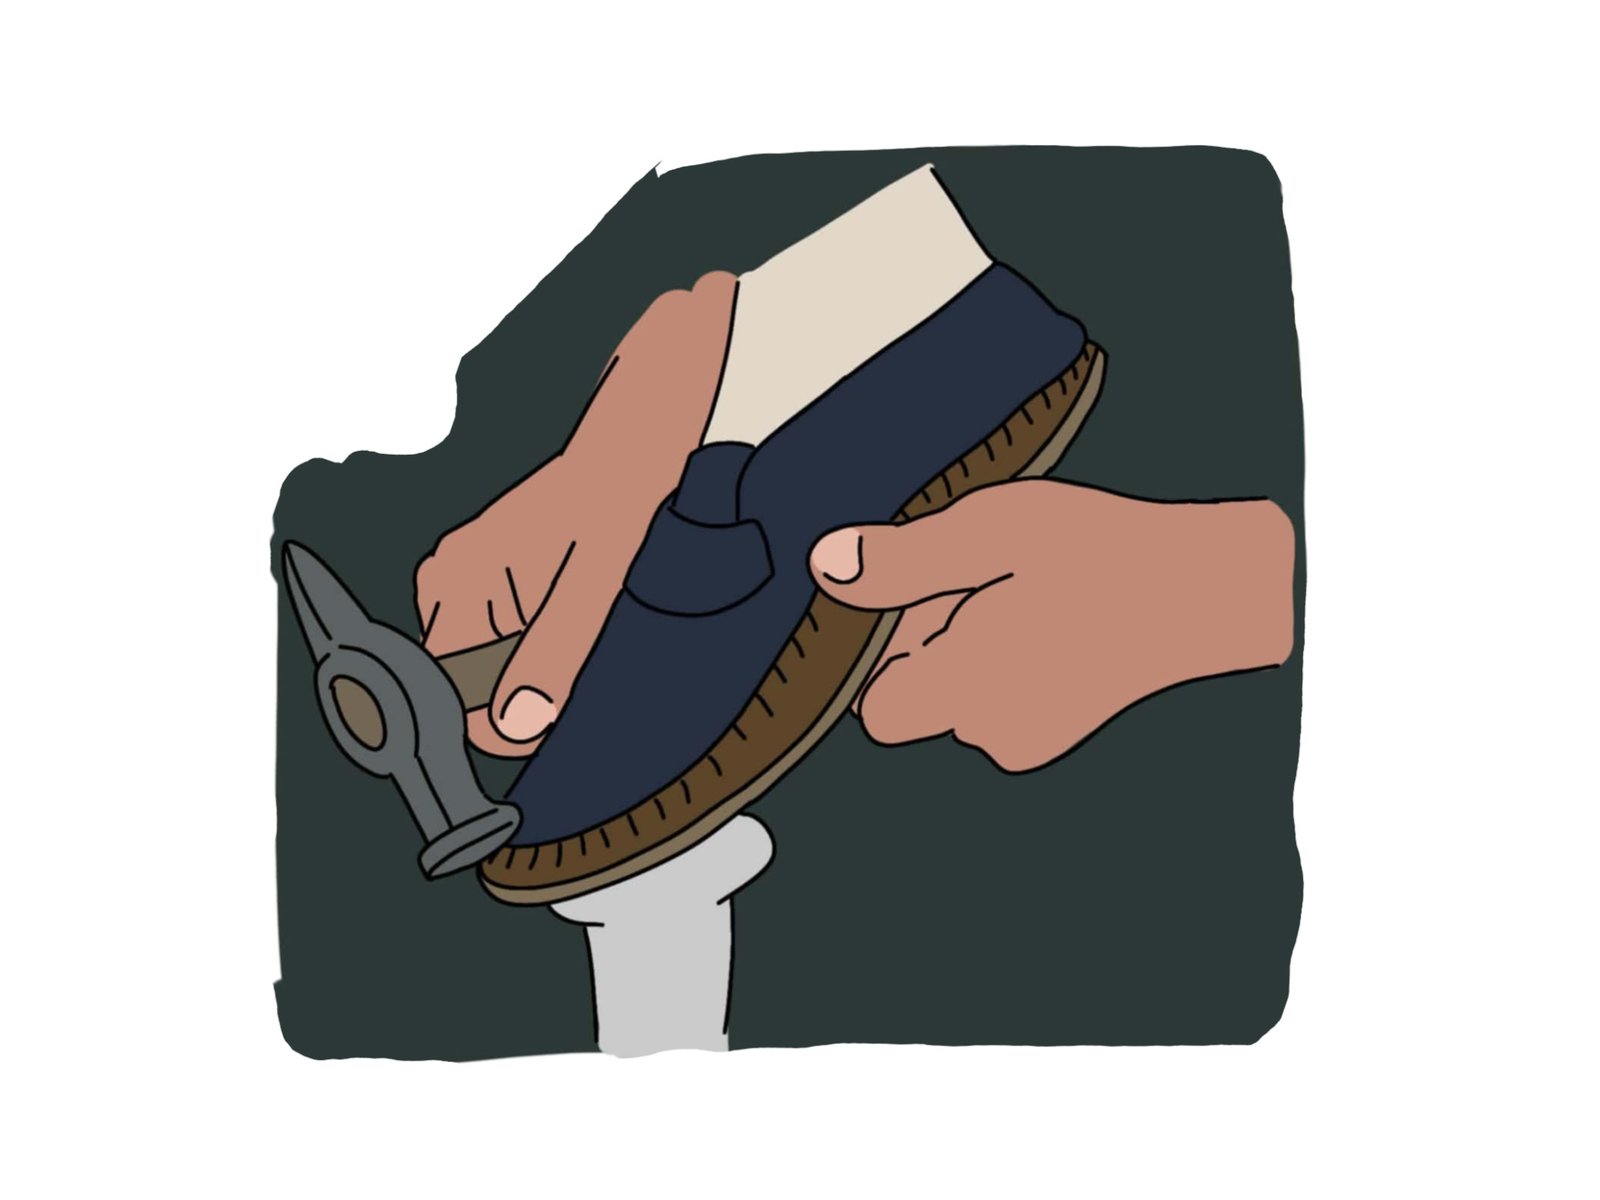
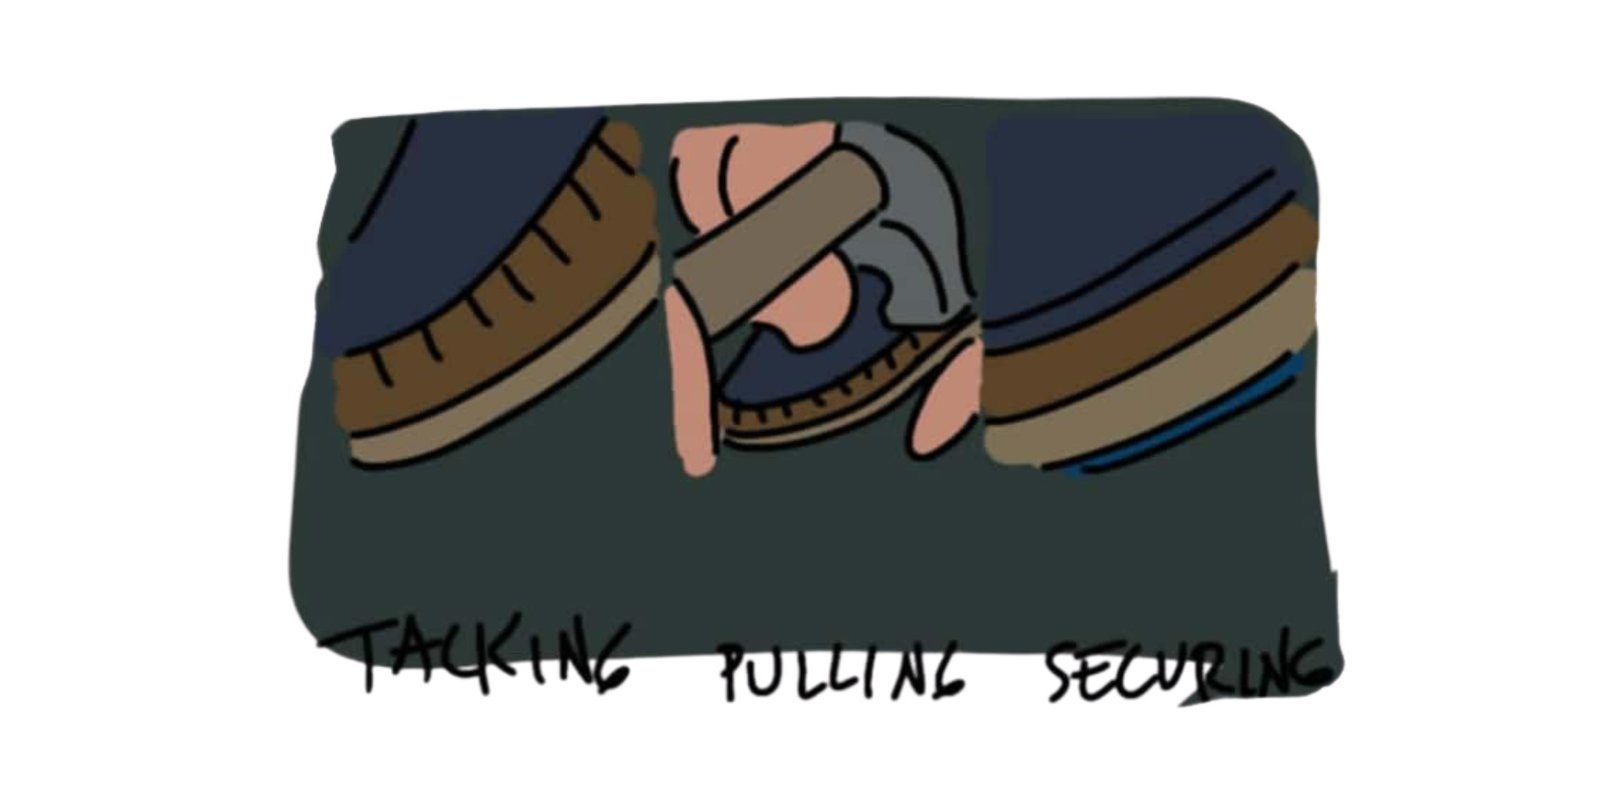
Hand-Lasting

Traditional Marikina Lasting Methods
Step 10
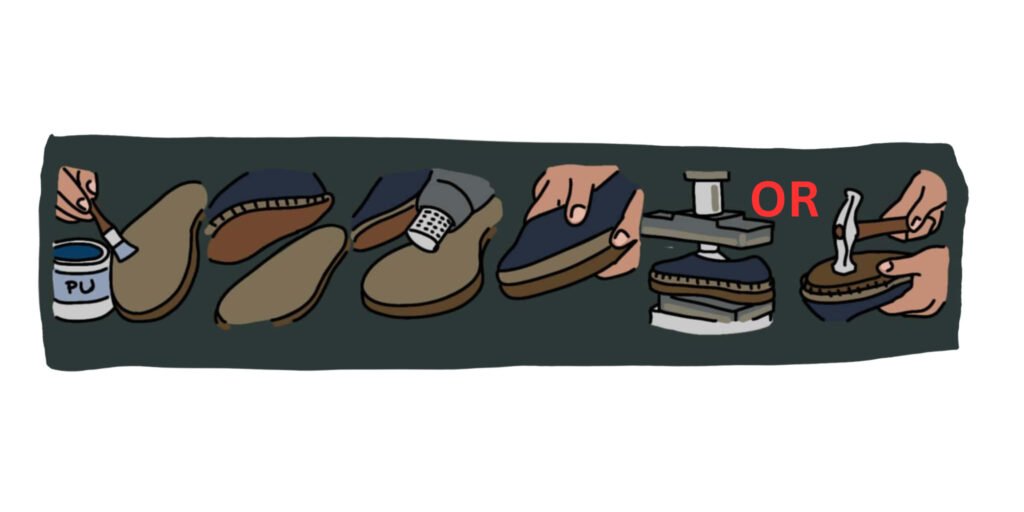
Cementing & Pressing

High-quality polyurethane adhesive
Apply a high-quality polyurethane (PU) shoe adhesive to both surfaces. Let it tack, reactivate it with your heating element, and press the upper and sole together firmly using your workshopβs manual hydraulic sole press or a traditional lasting hammer.
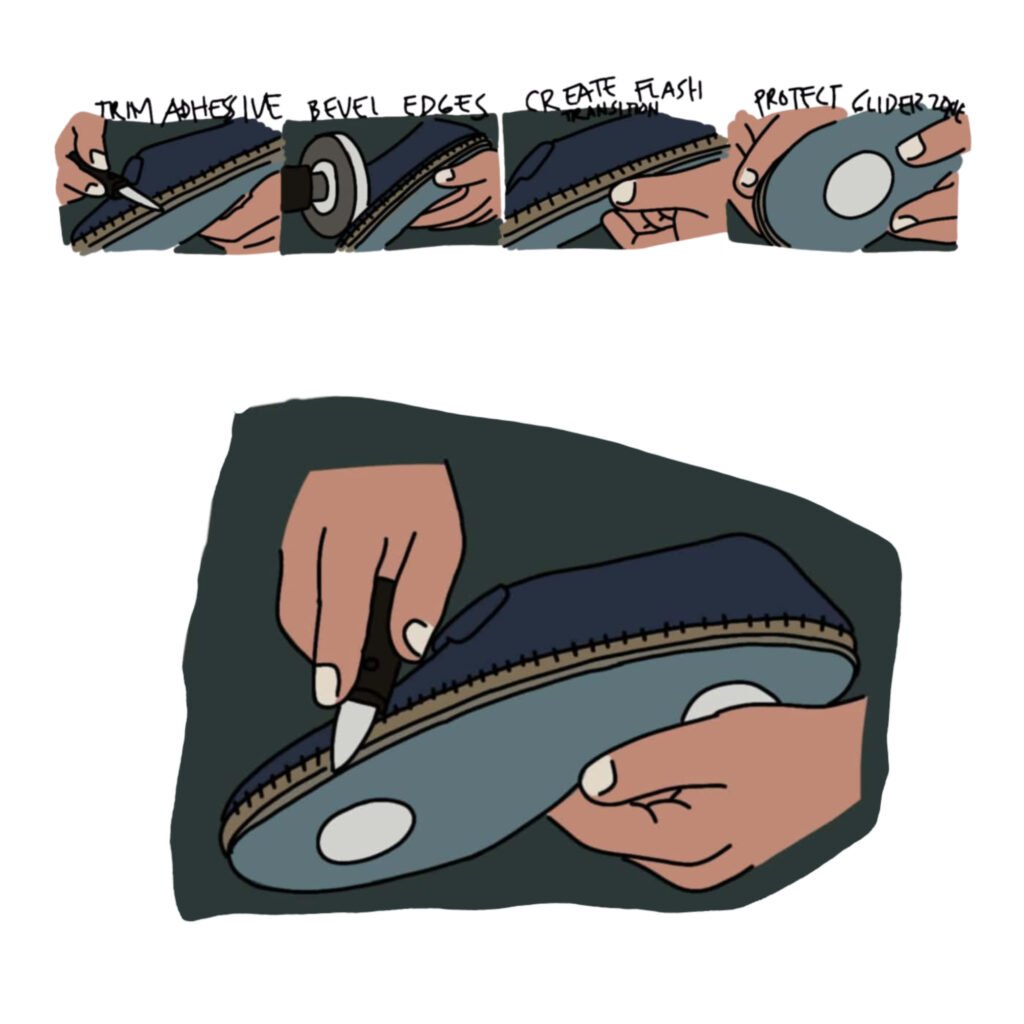
Finishing touches
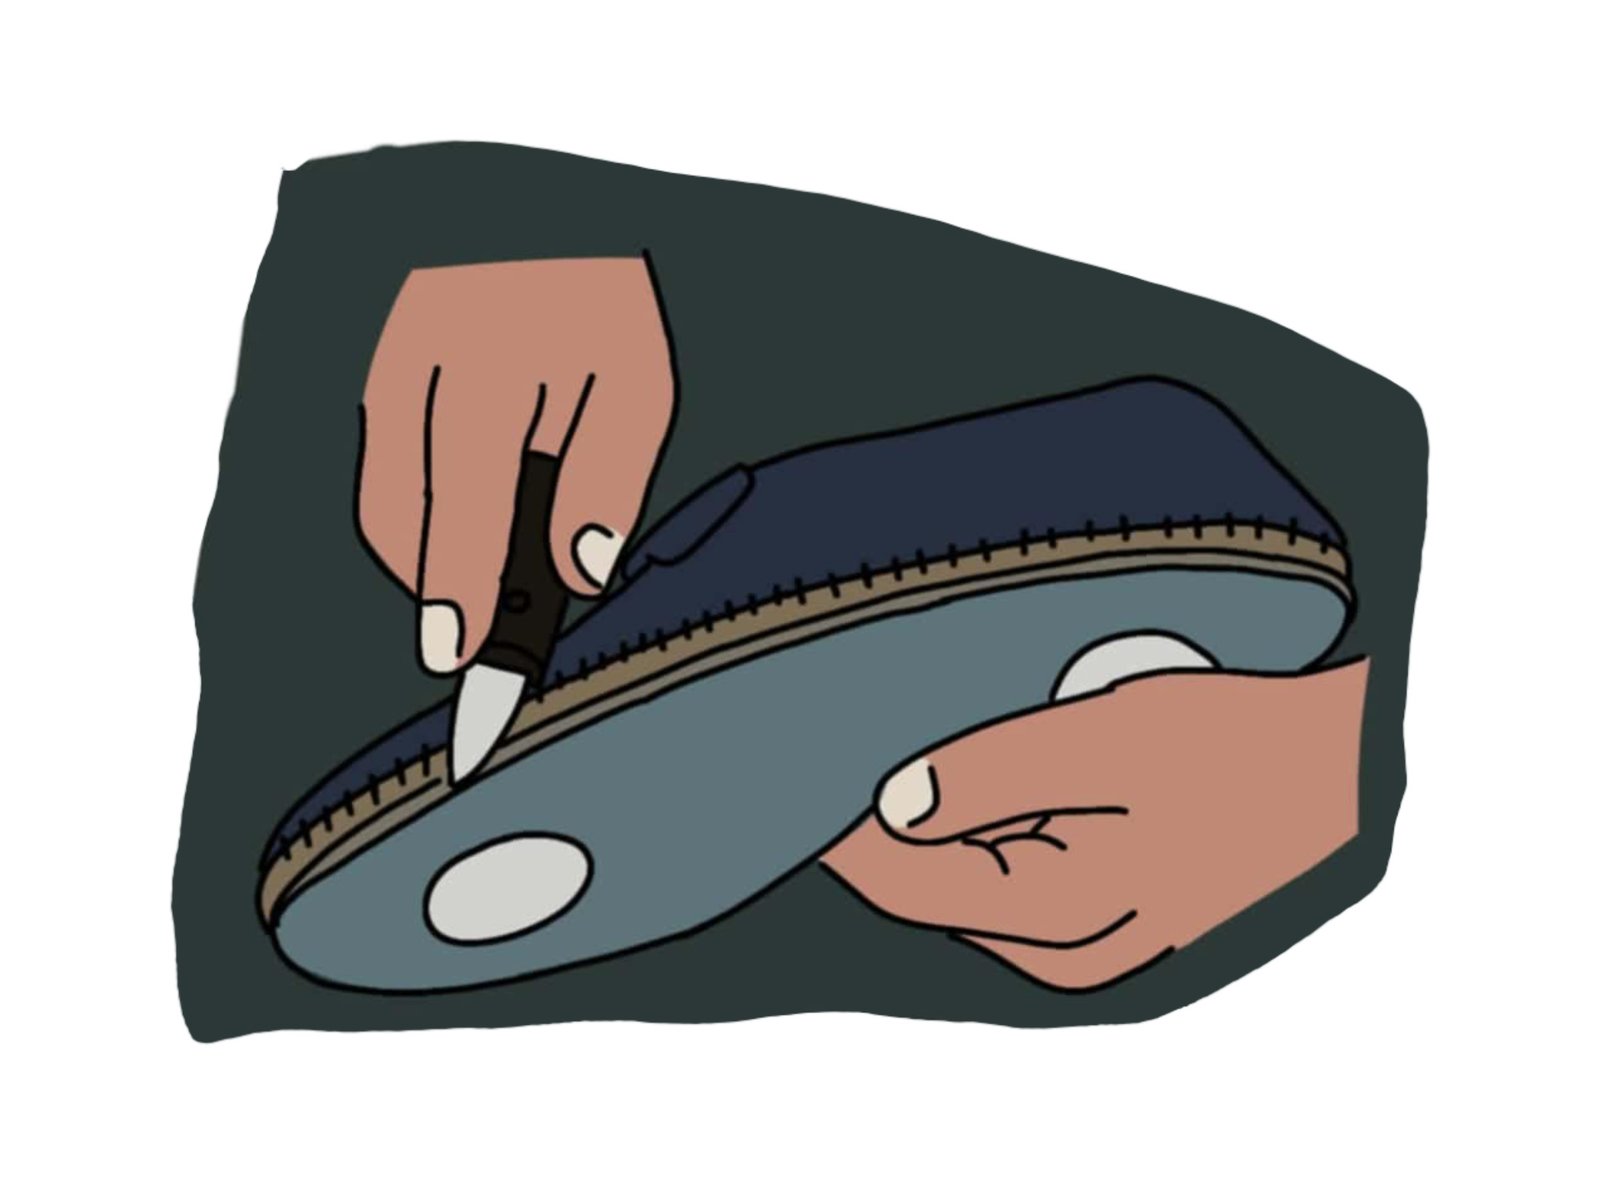
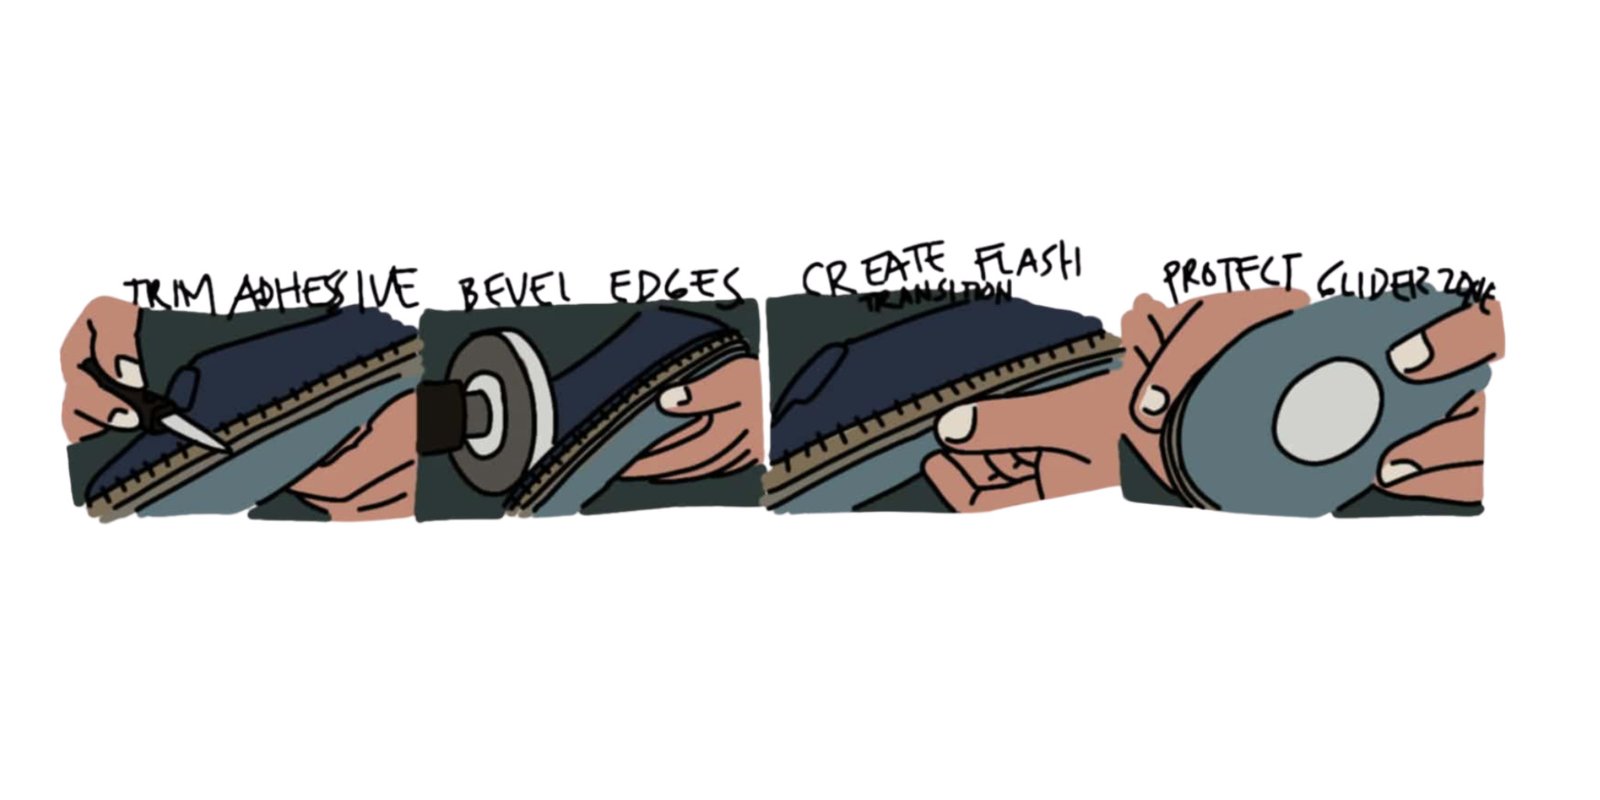
Trim adhesive overflow. Use a sharp shoemaking knife or specialized parting tool to carefully slice away any cured polyurethane (PU) glue that is squeezed out during the hydraulic pressing process.
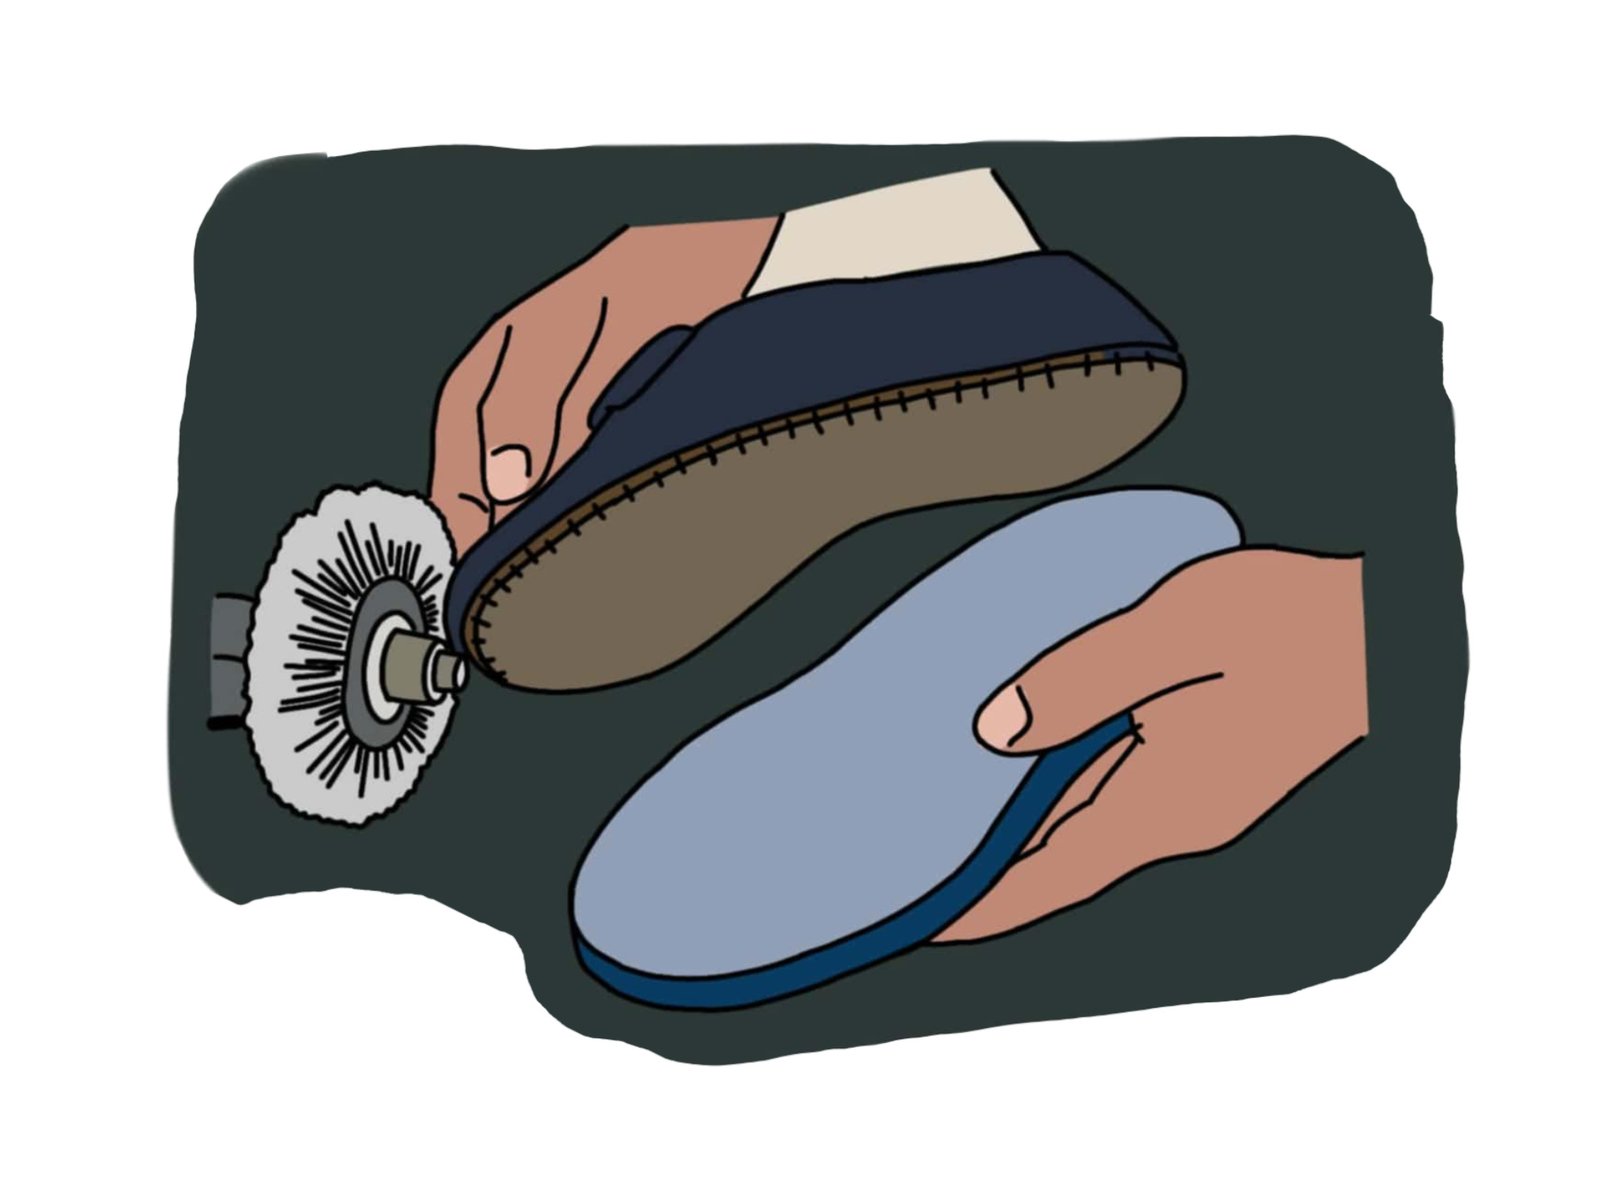
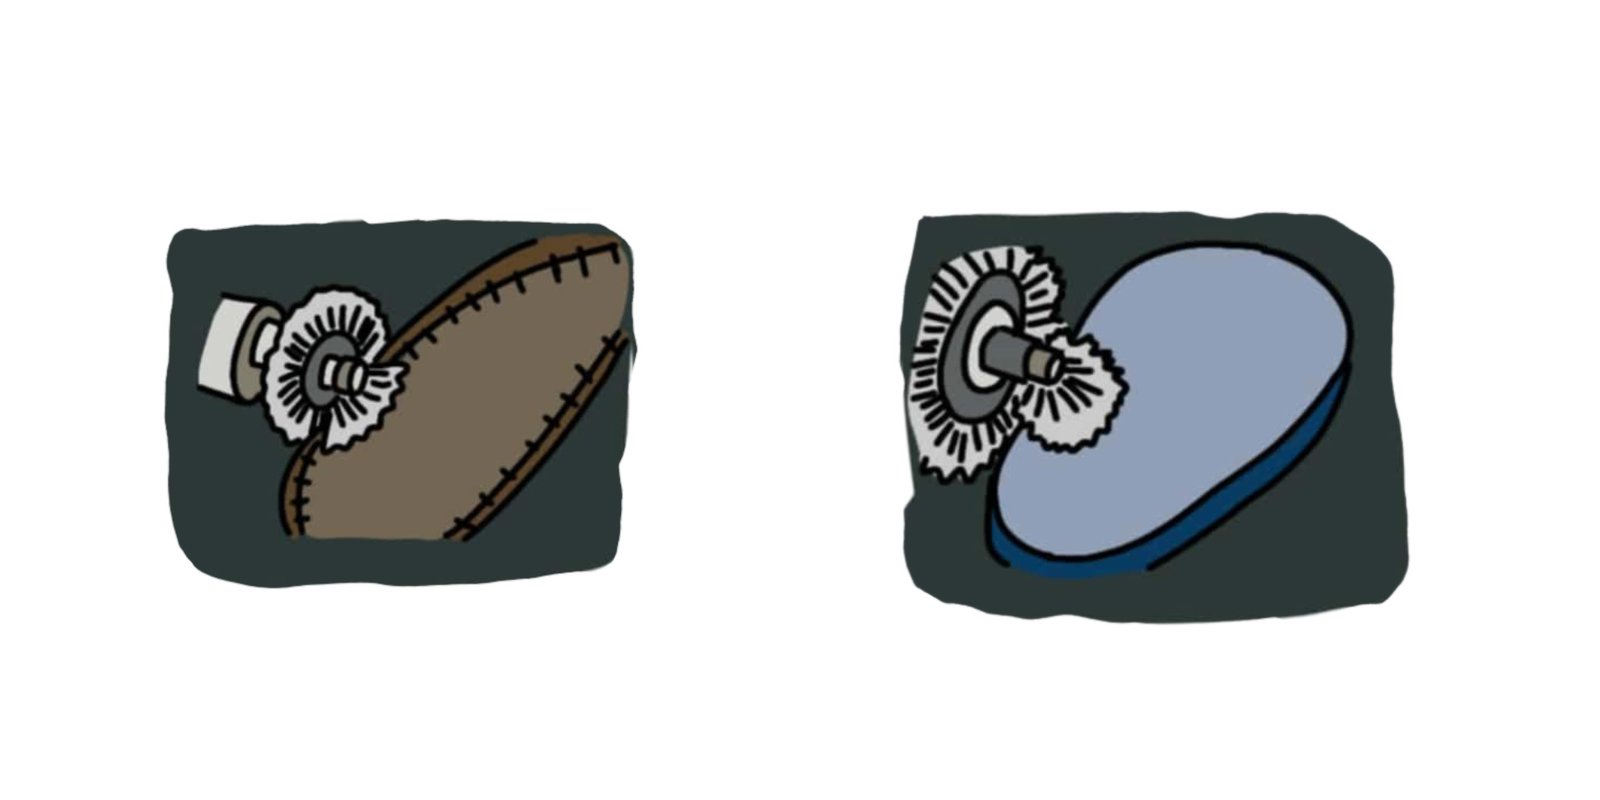
Bevel the edges. Run the perimeter of the bonded sole unit against a fine-grit sanding wheel on your workshop finisher.
Create flush transitions. Ensure the seam where the upper meets the variable-friction sole is perfectly smooth and uniform.
Protect the glider zone. Avoid sanding near the protruding plastic pucks to ensure their low-friction gliding profile remains completely unaltered.